Overview
Below we have a very small sample of some of the pieces we’ve restored previously – click on the photos for full resolution…
Ø
19th Century French Desk Attributed to Gabriel Viardot
{ Rebuild/Structural/Carving/French Polishing }
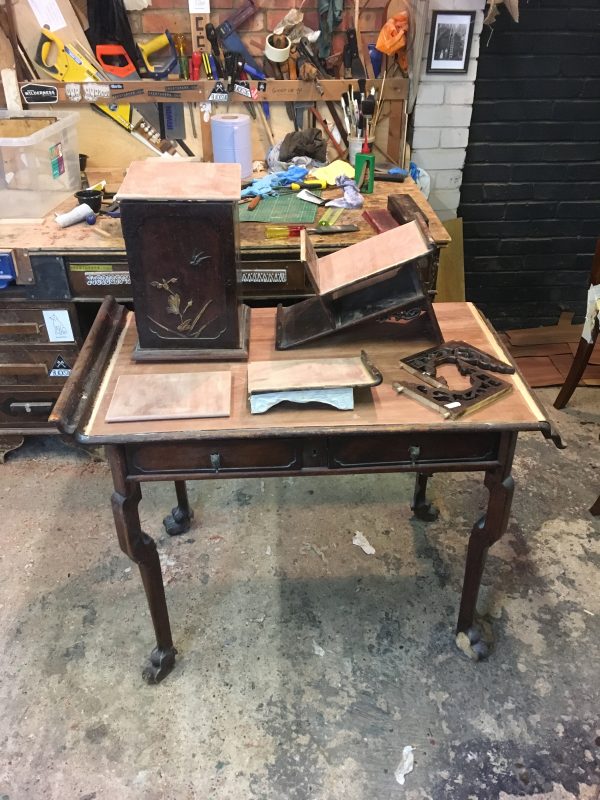
This project was basically a rebuild from the desk top upwards plus several issues lower down.
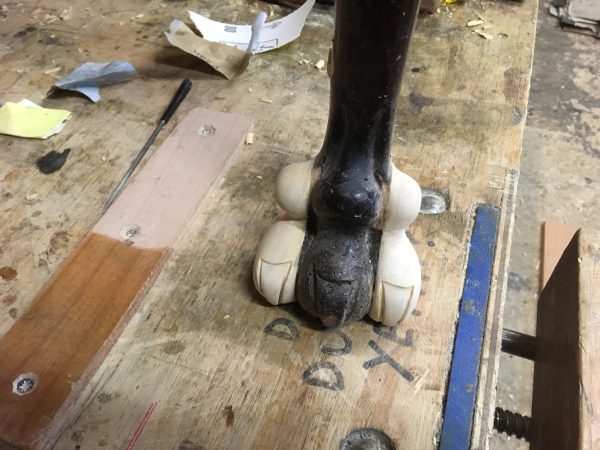
Restoration involved replacing several elements with new one-off components fabricated from scratch. These included; missing carved toes/claws from the feet, carved fretted bracket and several of the smaller shelves that had warped beyond rescue.
The piece also required the top desk surface to be re-veneered and French polished. The whole item was finally cleaned, touched-in to blend with the existing original finish and waxed.

Above: The fully restored desk.
Below: Click on the thumb-nails to see various stages of the project.


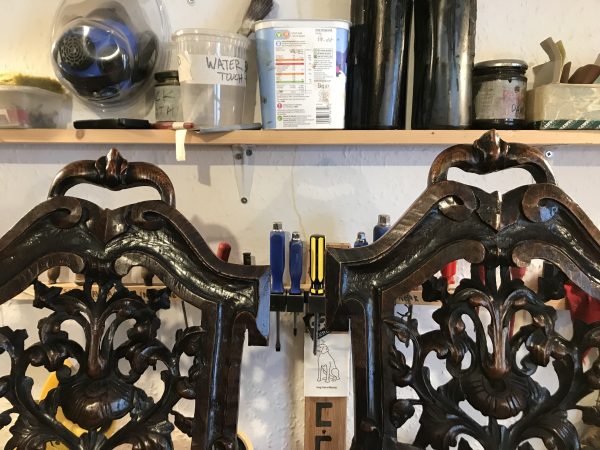
Pair of Oak Sgabello Chairs
{ Structural & Carving }
Besides the various structural problems with these two, several carved elements were missing including various areas of the scrolling foliage. A carved crest from the top of one of one chair backs was also completely missing. All of these elements had to be carved from scratch in oak and let in to blend. Finally all the repairs were coloured, French polished and ‘aged’ to join seamlessly with their surroundings.

Above: The finished chairs.
Below: Structural and carving.


Carved Eagle Regency Wall Sconce
{ Structural/Fabrication/Simulated Patina }
One half of the handlebar-moustache shaped cartouche on this sconce had multiple breaks, the other half was missing altogether. Repair involved stabilising the broken half and cutting-in wood to fill the missing voids then shaping the repairs to blend. The missing half had to be carved from scratch to mirror its partner.
Following the structural repairs, the bare wood was sealed then finished to blend, front and rear with the original finish. As the surrounding finish was quite heavily patinated, it was necessary to artificially ‘age’ the new and repaired areas so they didn’t draw the eye.
Finally, the entire piece was very carefully cleaned and waxed.

Above: After restoration.
Below: Click on the thumb-nails to see various stages of the project.


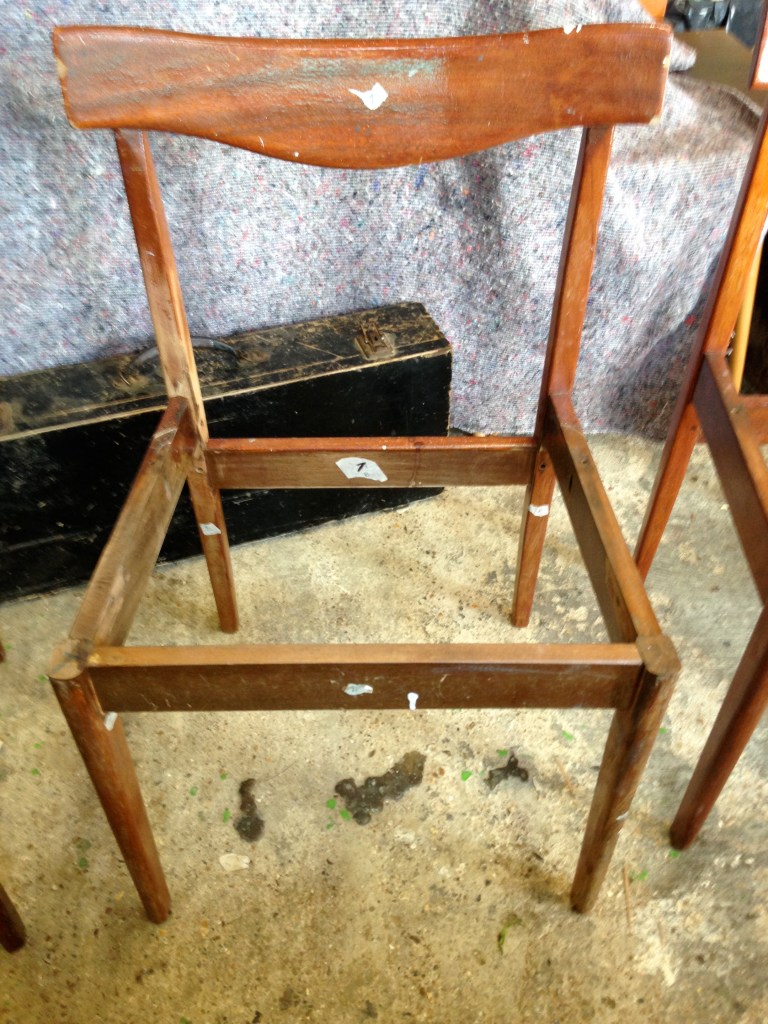
4 Mid Century Teak Dining Chairs
{ Joints & Re-finish }
These had a horrible old, thick varnish on them and most of the joints were really loose. They also had two broken seats that we had to replace and they needed re-upholstering. Refinishing was in Danish Oil.

Above: Two of the chairs fully restored.
Below: The process.


Pedestal Side Table With Inlaid Bird Motif
{ Marquetry Repairs, Structural & French Polishing }
The marquetry motif on the centre of this table had been neglected for a long time. Many of the elements of the design were missing including most of the bird with only it’s wing remaining.
Restoration involved researching and re-imagining the central motif for repair, lots of colour matching, fills and inlay repairs, various structural repairs to base and a full strip and refinish in ‘French polish’.
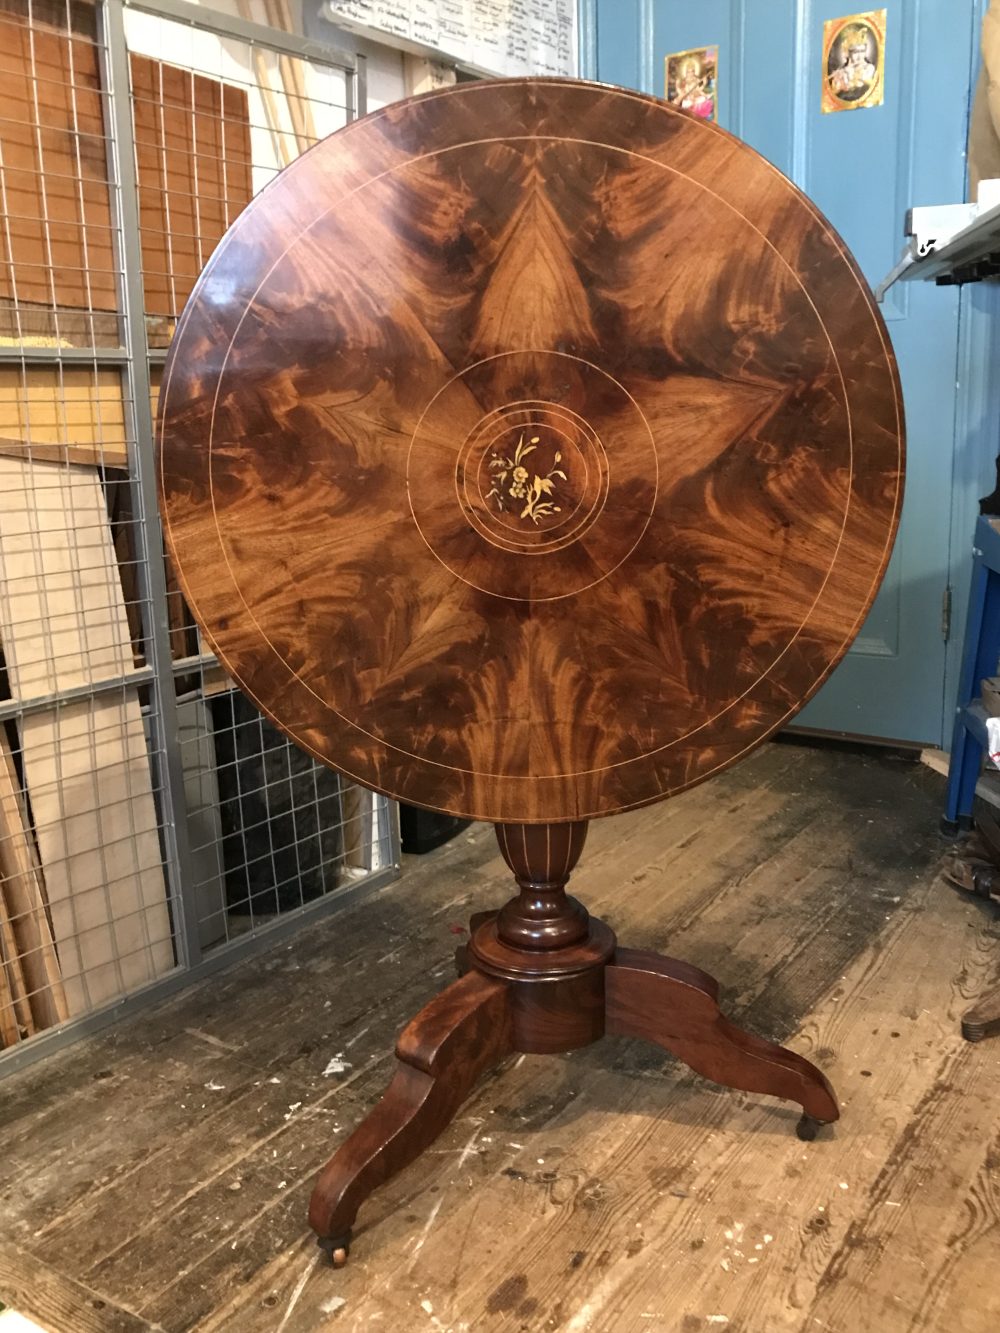
Above: The finished table with its top tilted.
Below: Some of the stages of repair.


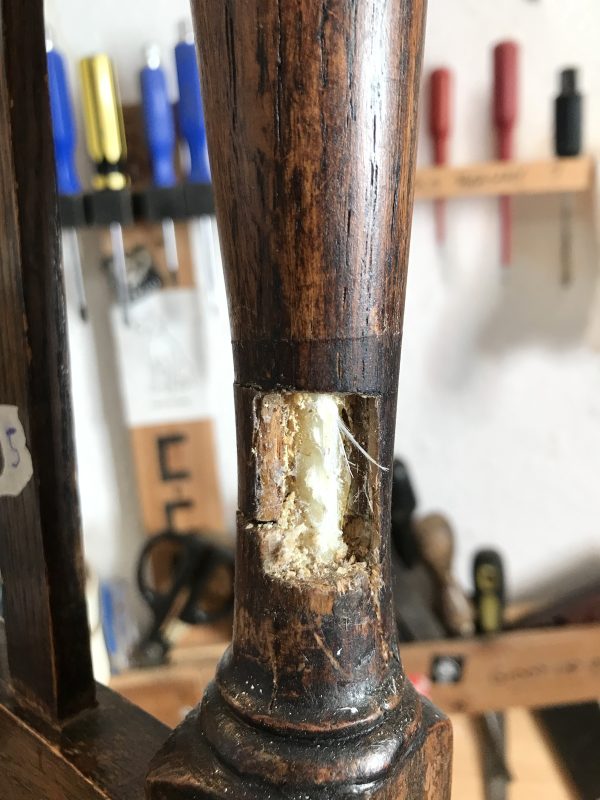
Oak Dining Chair
{ Severe Structural Damage }
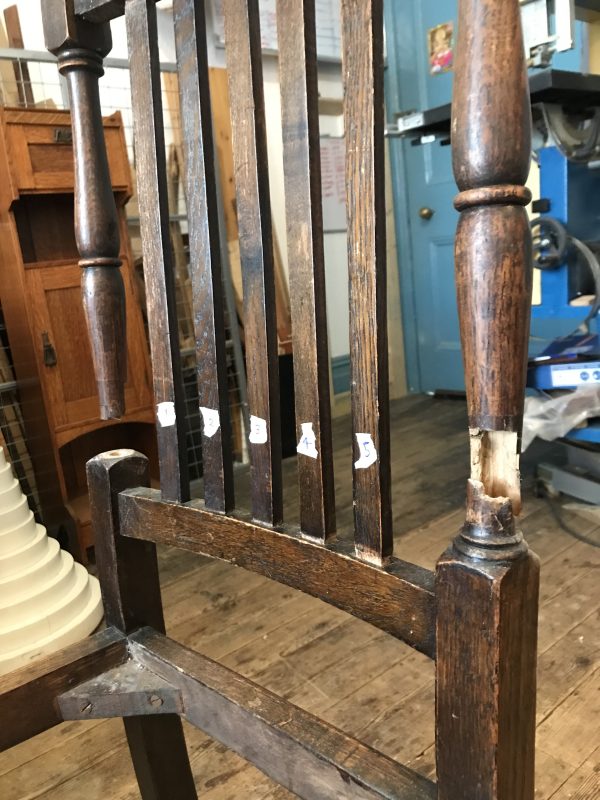
Someone had previously carried out a strange repair to the back of this chair using fibreglass rod to dowel the snapped rear uprights back together – maybe a sound idea in theory but because fibreglass rod is more flexible than oak, when somebody leant too hard on the back of the chair, the hollow oak ‘tubes’ cracked apart.
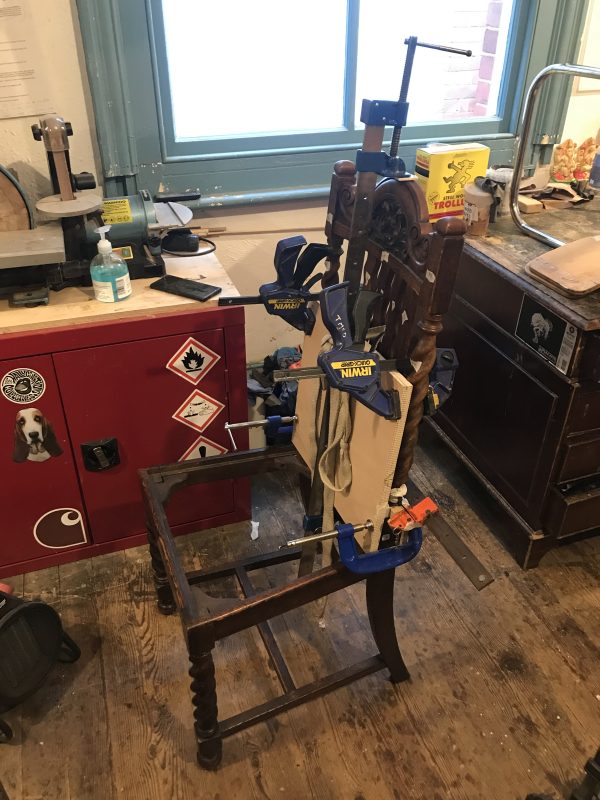
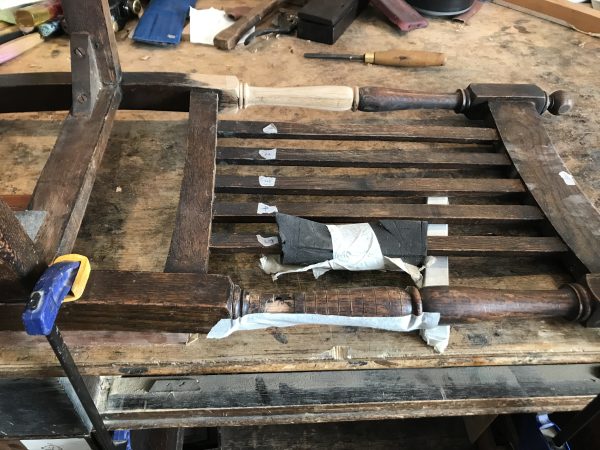
We resolved this by cutting everything out and letting in new oak in stages starting with oak dowels followed by re-facing all 4 sides of each upright. The new wood was then shaped and polished to blend with the original finish.
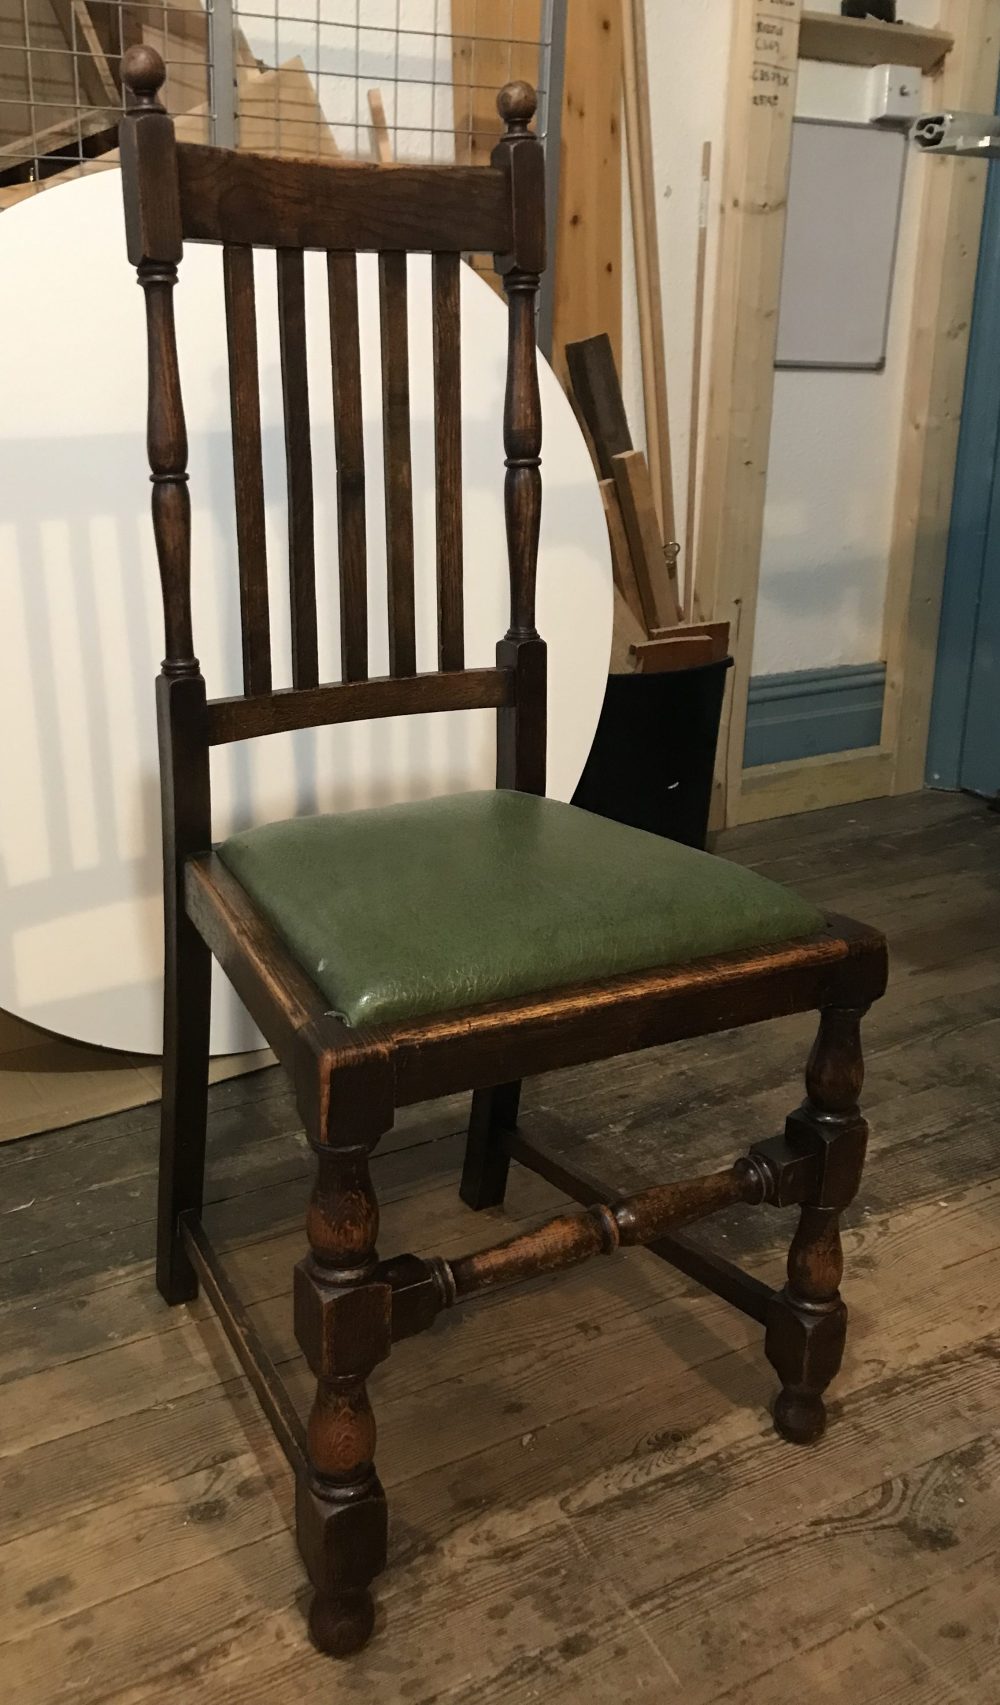
Above: The restored dining chair.
Below: Structural and finishing.


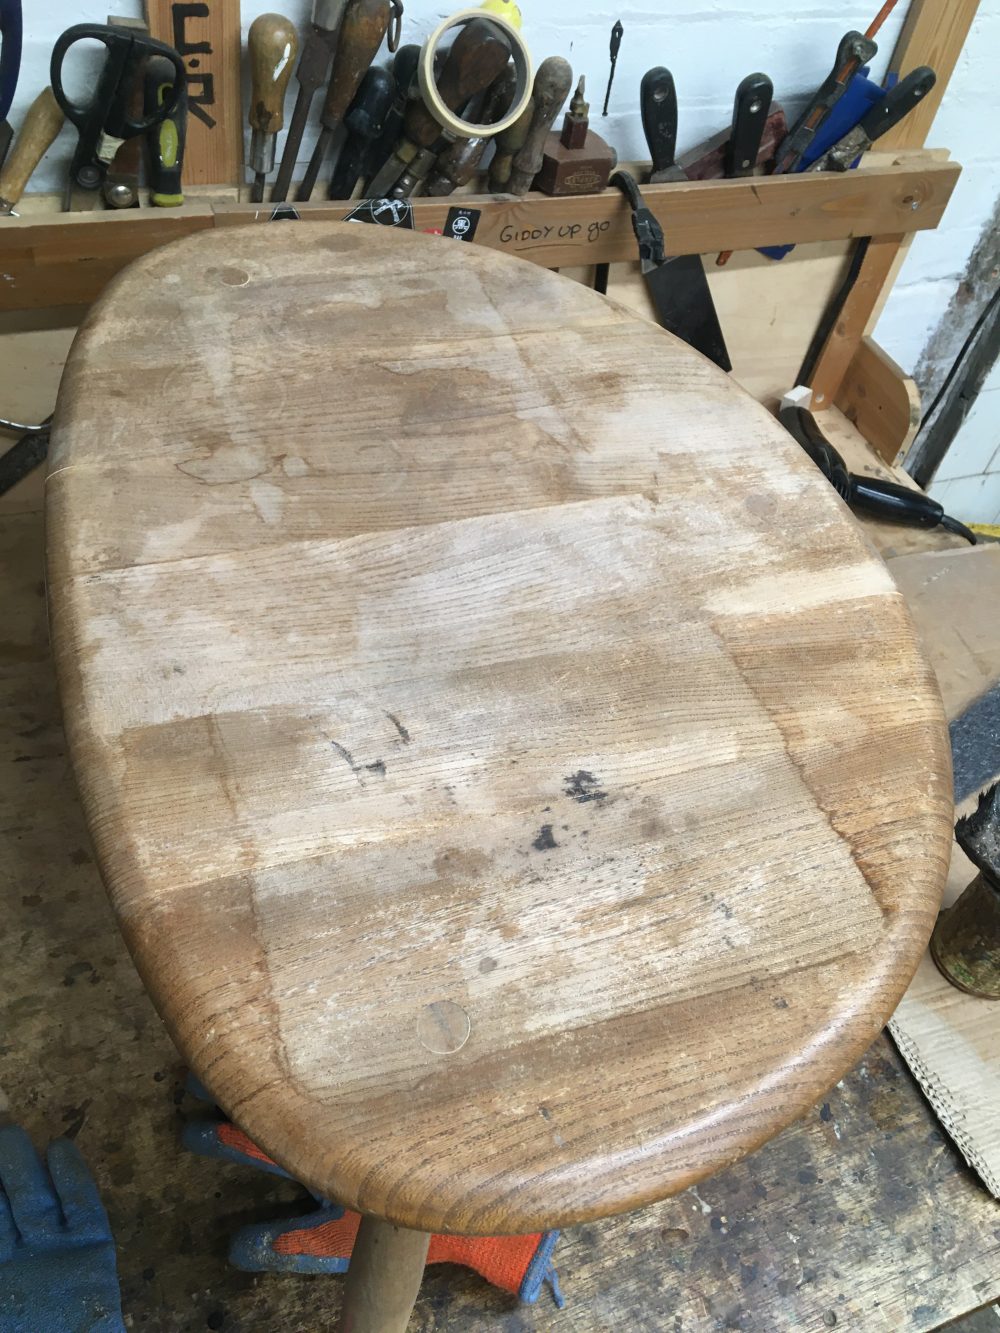
3 Ercol “Pebble” Side Tables
{ Structural & Refinish }
These three were in a sorry state. After rebuilding we refinished the tops to blend with the original factory finish on the legs which just needed a touch-in and revive.

Above: One of the Ercol “Pebble” Tables showing extreme structural issues before we restored it.
Below: This table had a very degraded finish.
Below: The tables after structural repairs and refinishing in period appropriate varnish.

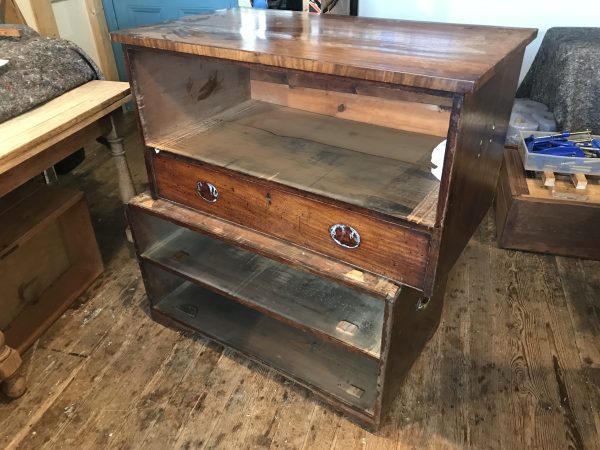
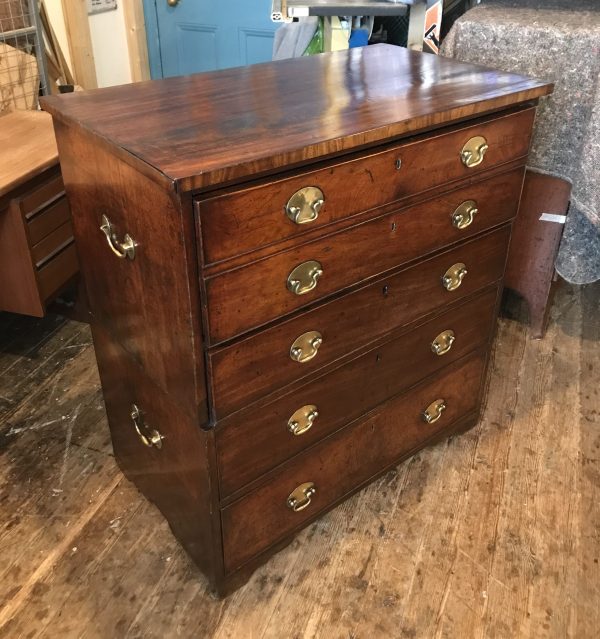
Campaign Chest
{ Reviving & Finishing }
This one wasn’t too bad structurally but it needed a lot of reviving, touching-in and localised polishing with shellac, pigments and dyes to get it looking cared-for again. All the hardware had to be removed and thoroughly cleaned before being reattached.

Above: The restored campaign chest.
Below: ‘before’ & close-up.

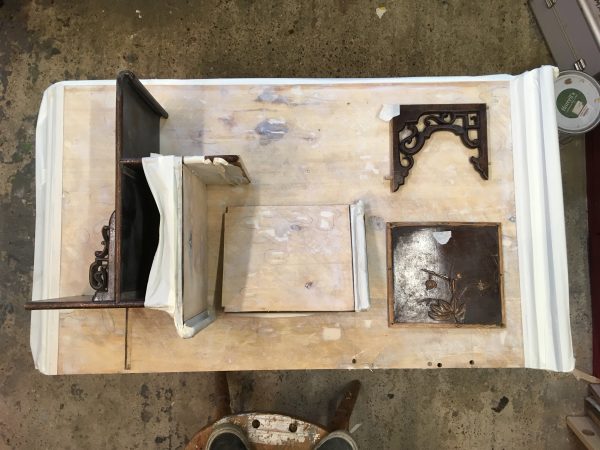
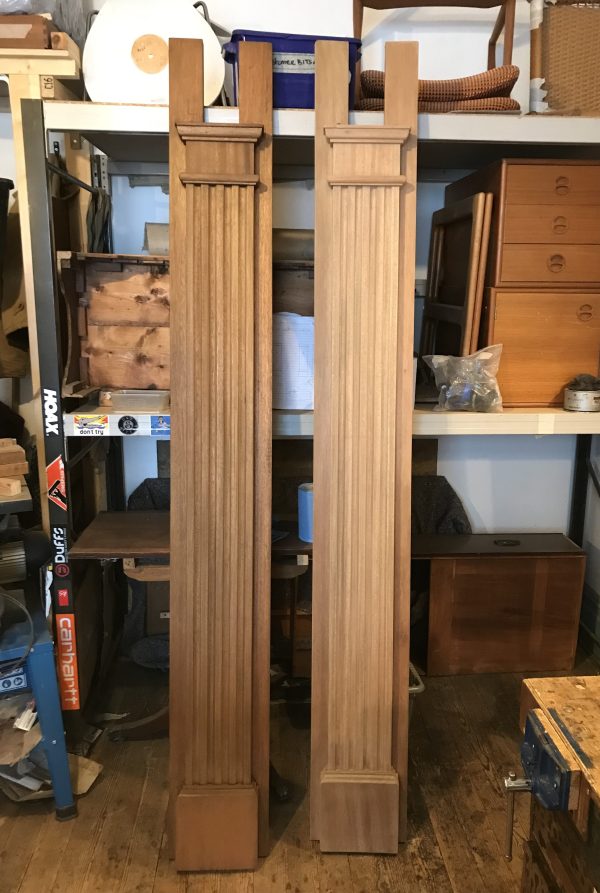
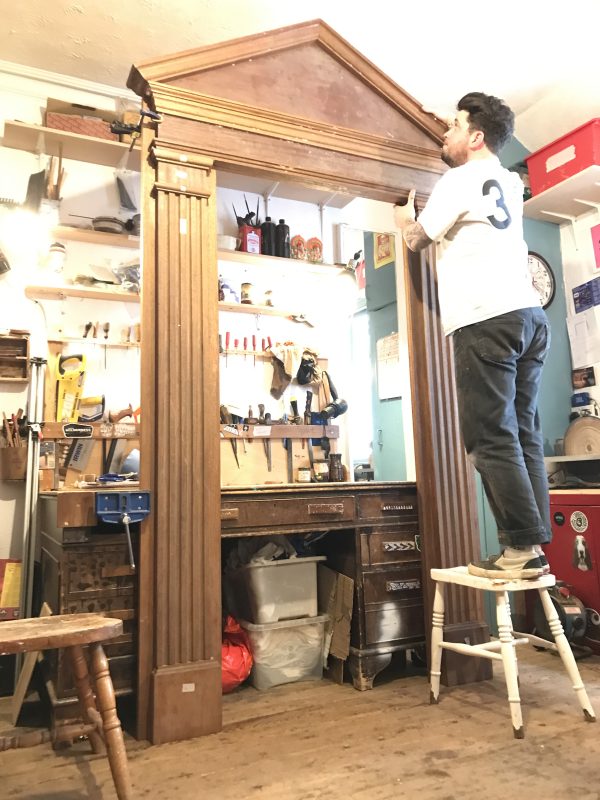
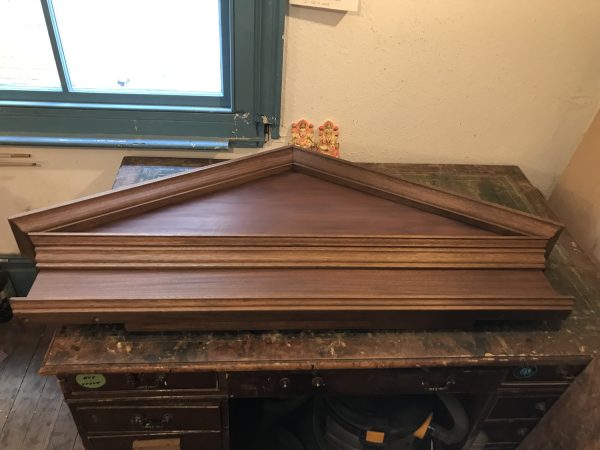
Classical Pilasters & Pediment
{ Structural & Finishing }
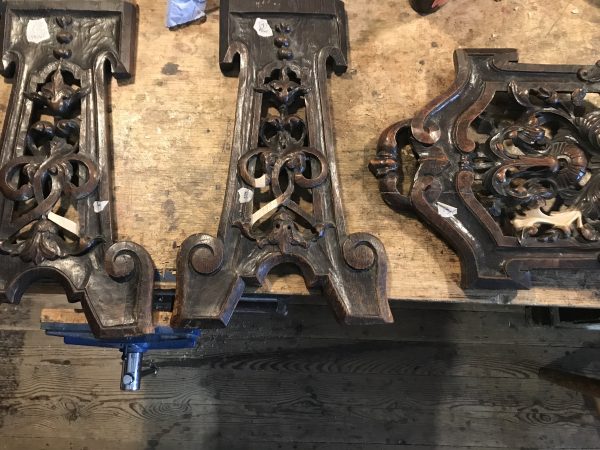
This was an unusual one for us. Not strictly furniture – our client needed these pilasters to be shortened by several inches to fit their interior space better. Shortening them was not overly straightforward as it was necessary to dismantle all the separate elements of each pilaster, shorten the middle section and the back plate, then reassemble.
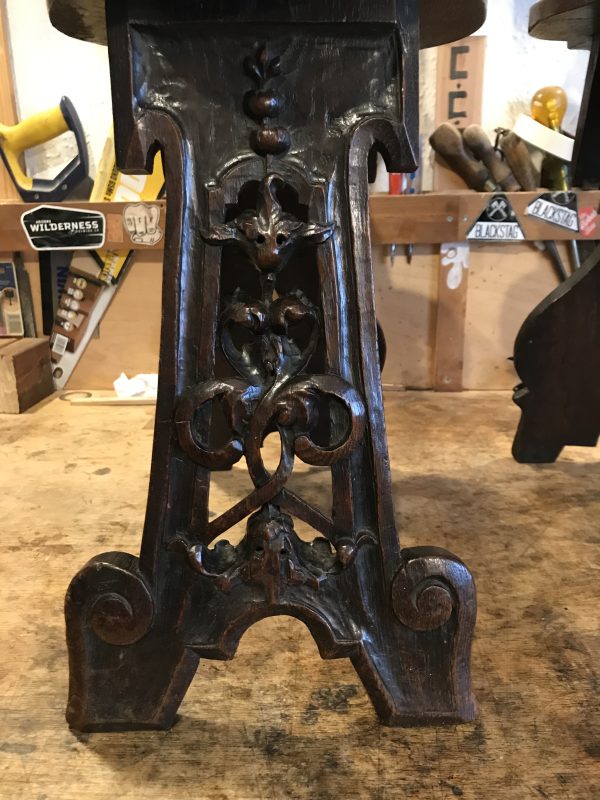
Following the ‘shortening’, the pilasters were stripped, stained, polished and artificially patinated along with the pediment in order to create a more ‘antique’ aesthetic.

Above: Finished and in situ.
Below: The process.


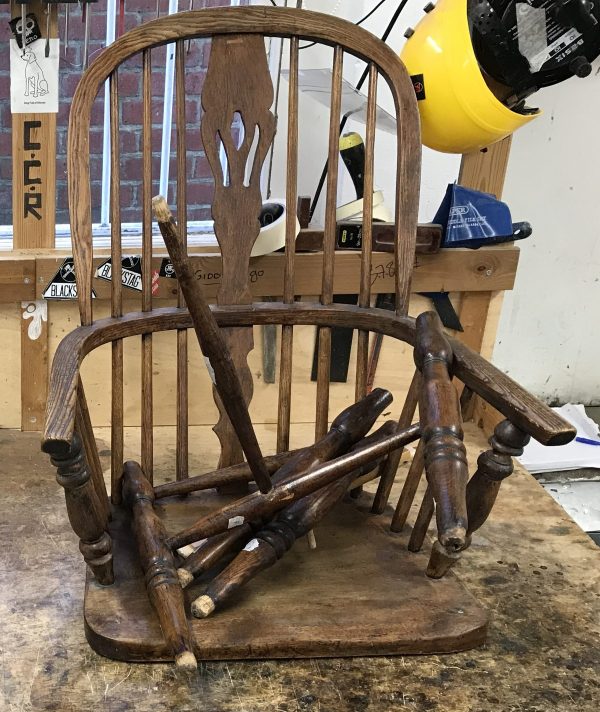
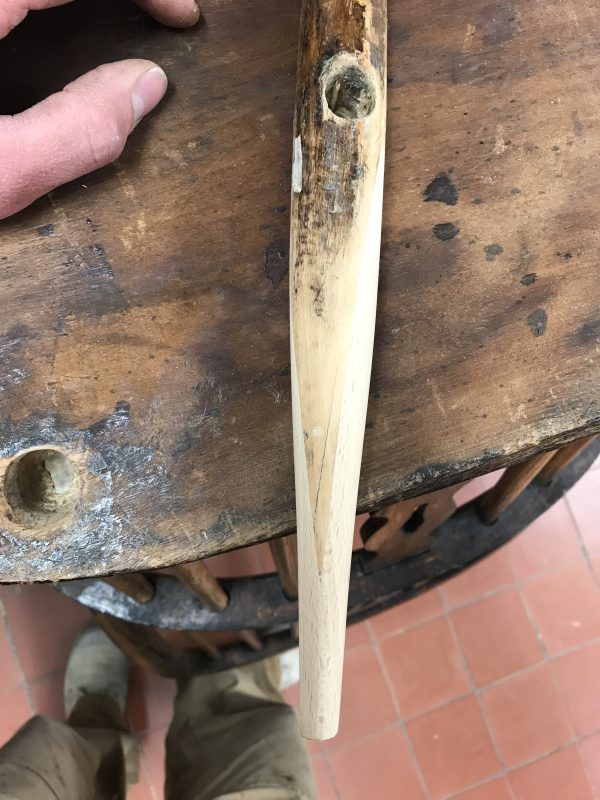
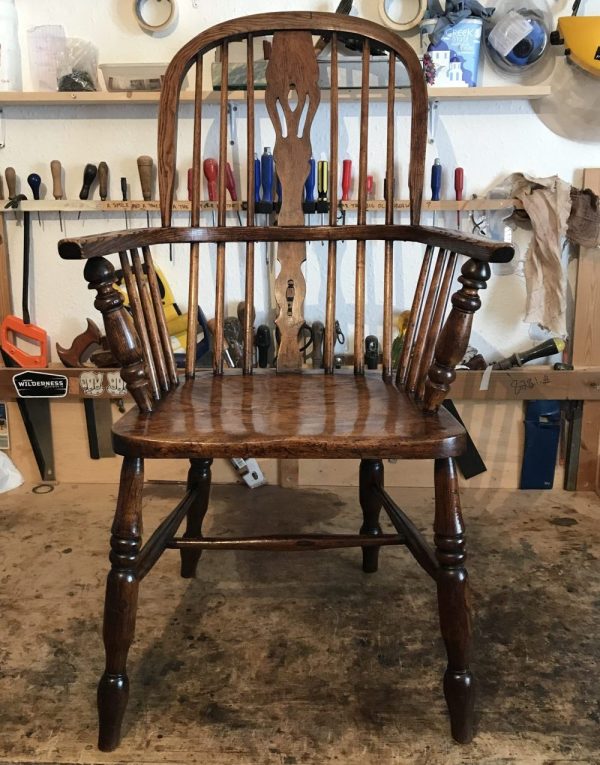
Windsor Chair
{ Structural }
Windsor chairs have a very specific construction that’s different to other chairs. Rather than having four rails jointed into a leg in each corner as is conventional, Windsor chairs have a solid seat with all other elements above and below jointed into it. Technically, any chair constructed in this manner is a Windsor – not just the classic comb back styles typical of the genre.
We’ve restored many examples. This particular one needed everything below the seat clamping and re-gluing. It also needed wood (Beech) let in on several sides of one stretcher – this then needed to be finished and artificially ‘aged’ to blend.

Above: The restored Windsor chair.
Below: Structural repairs and joint work.


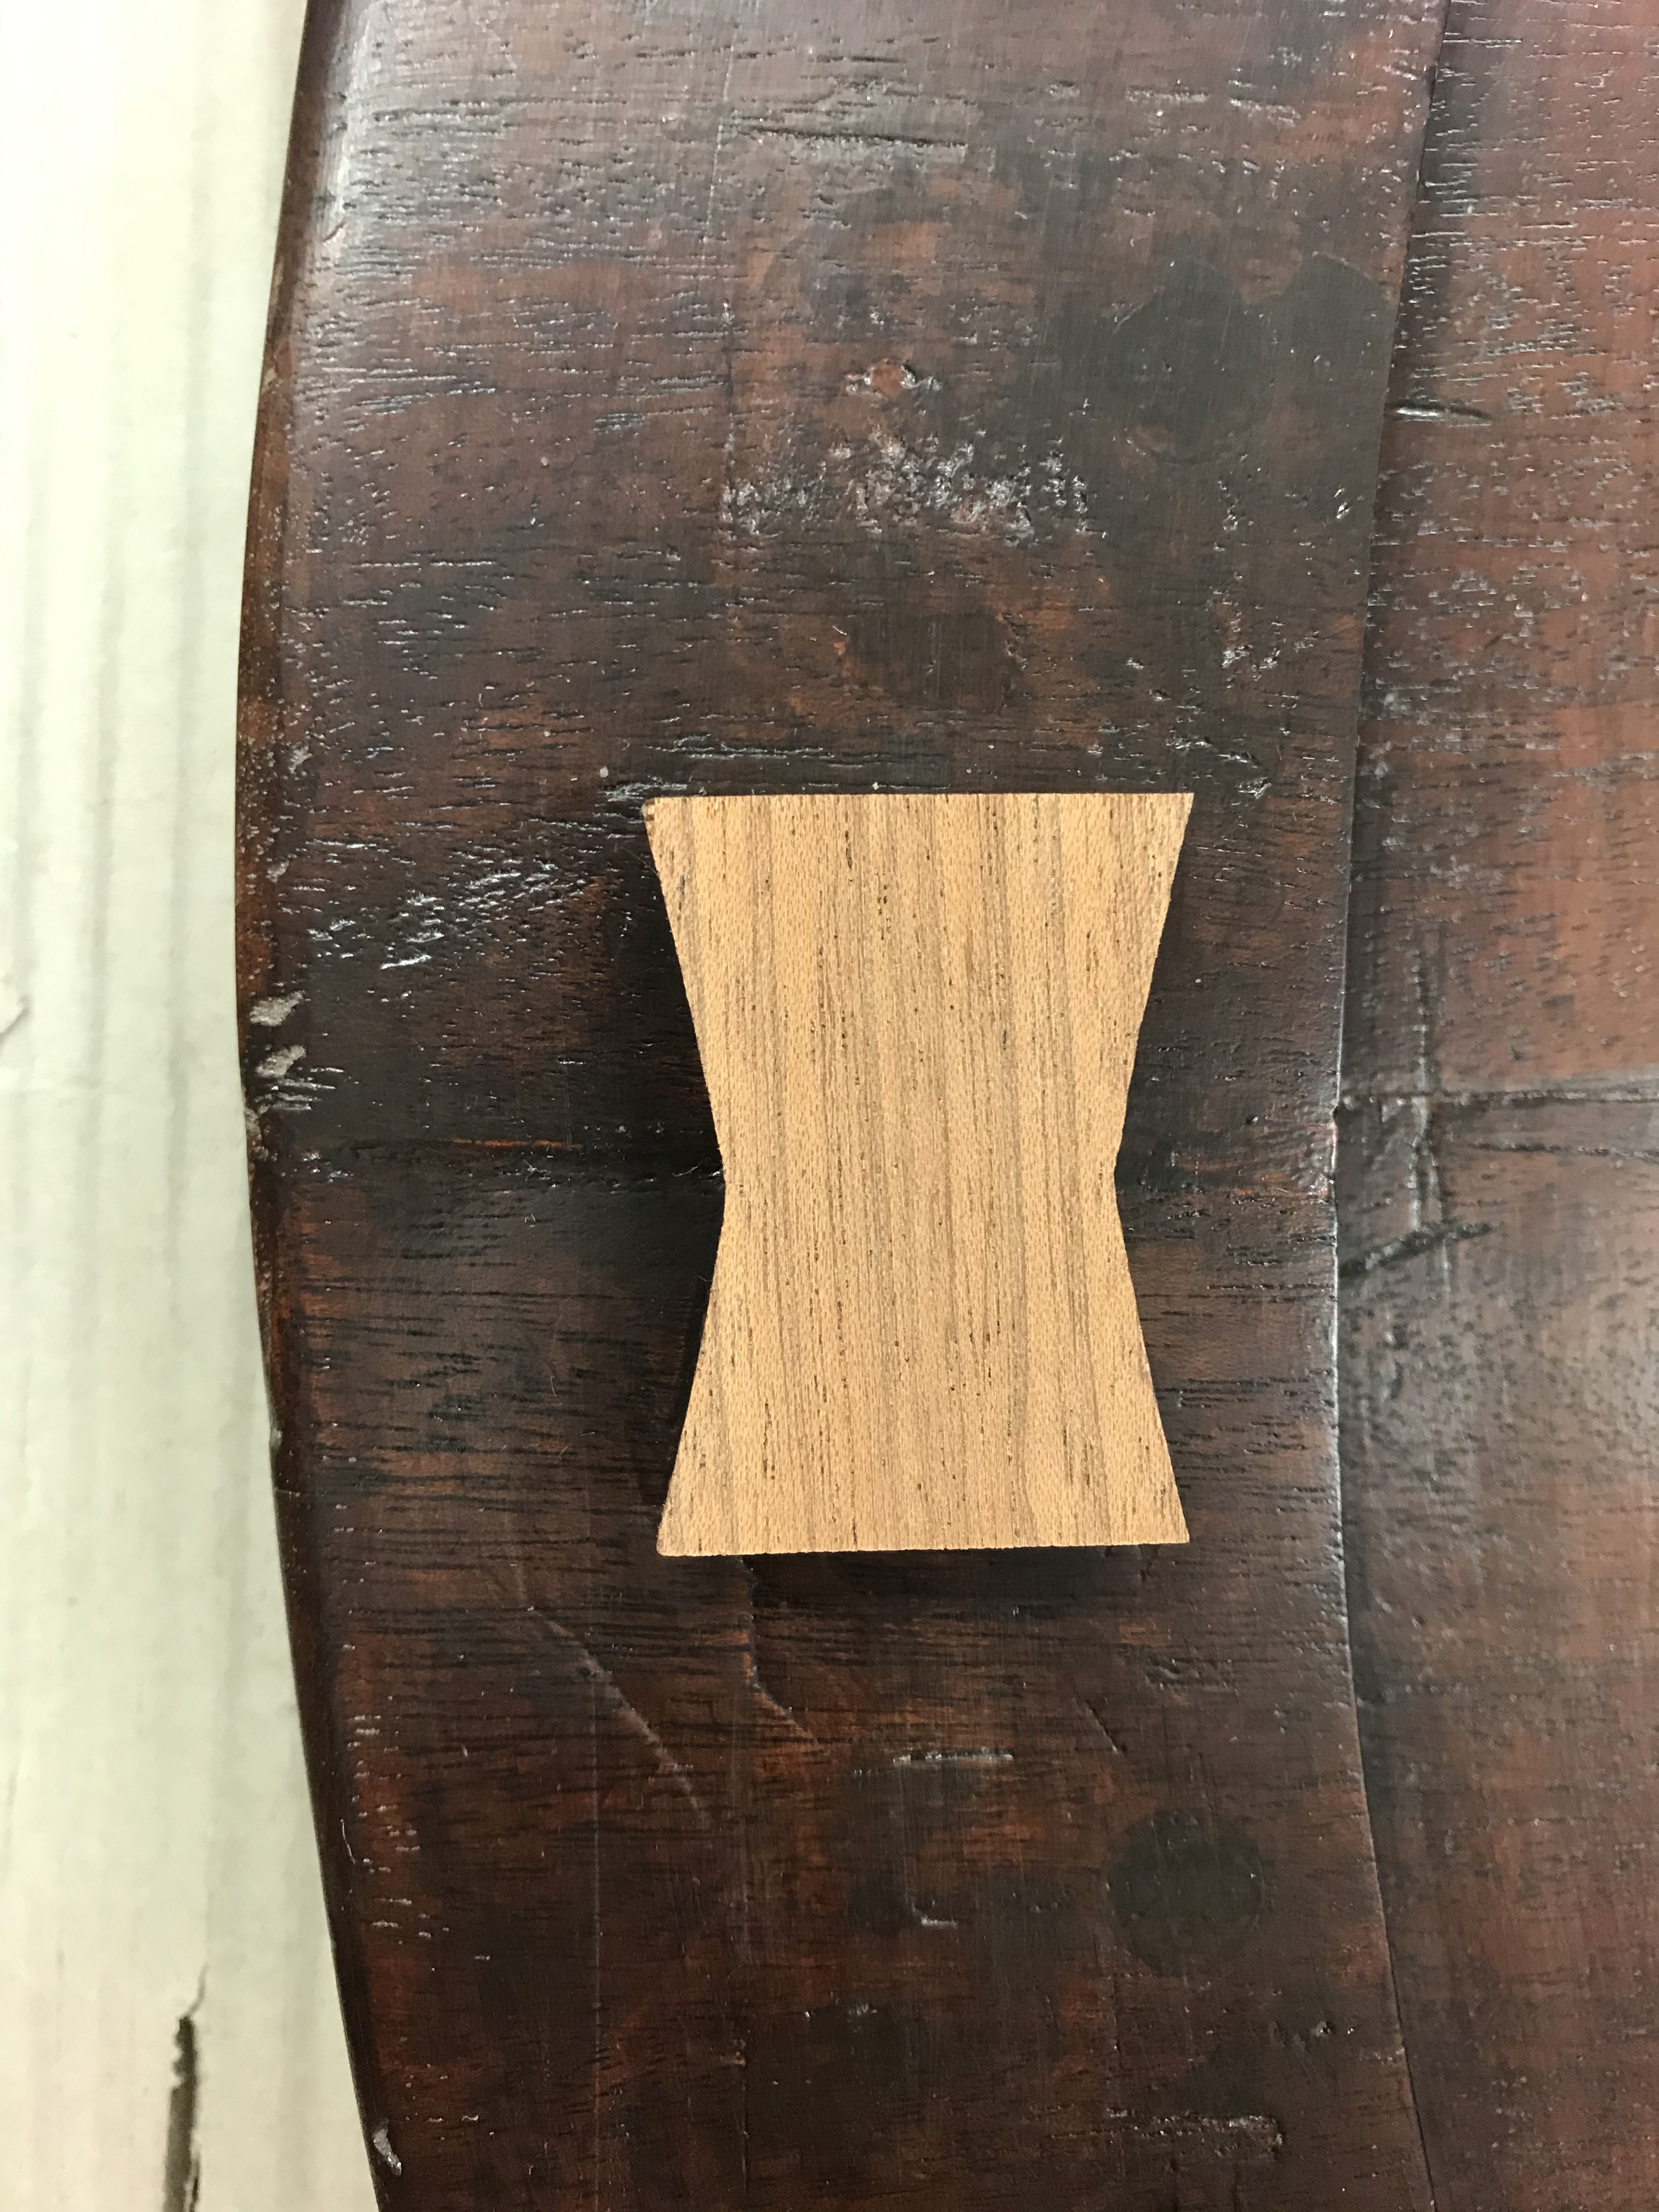
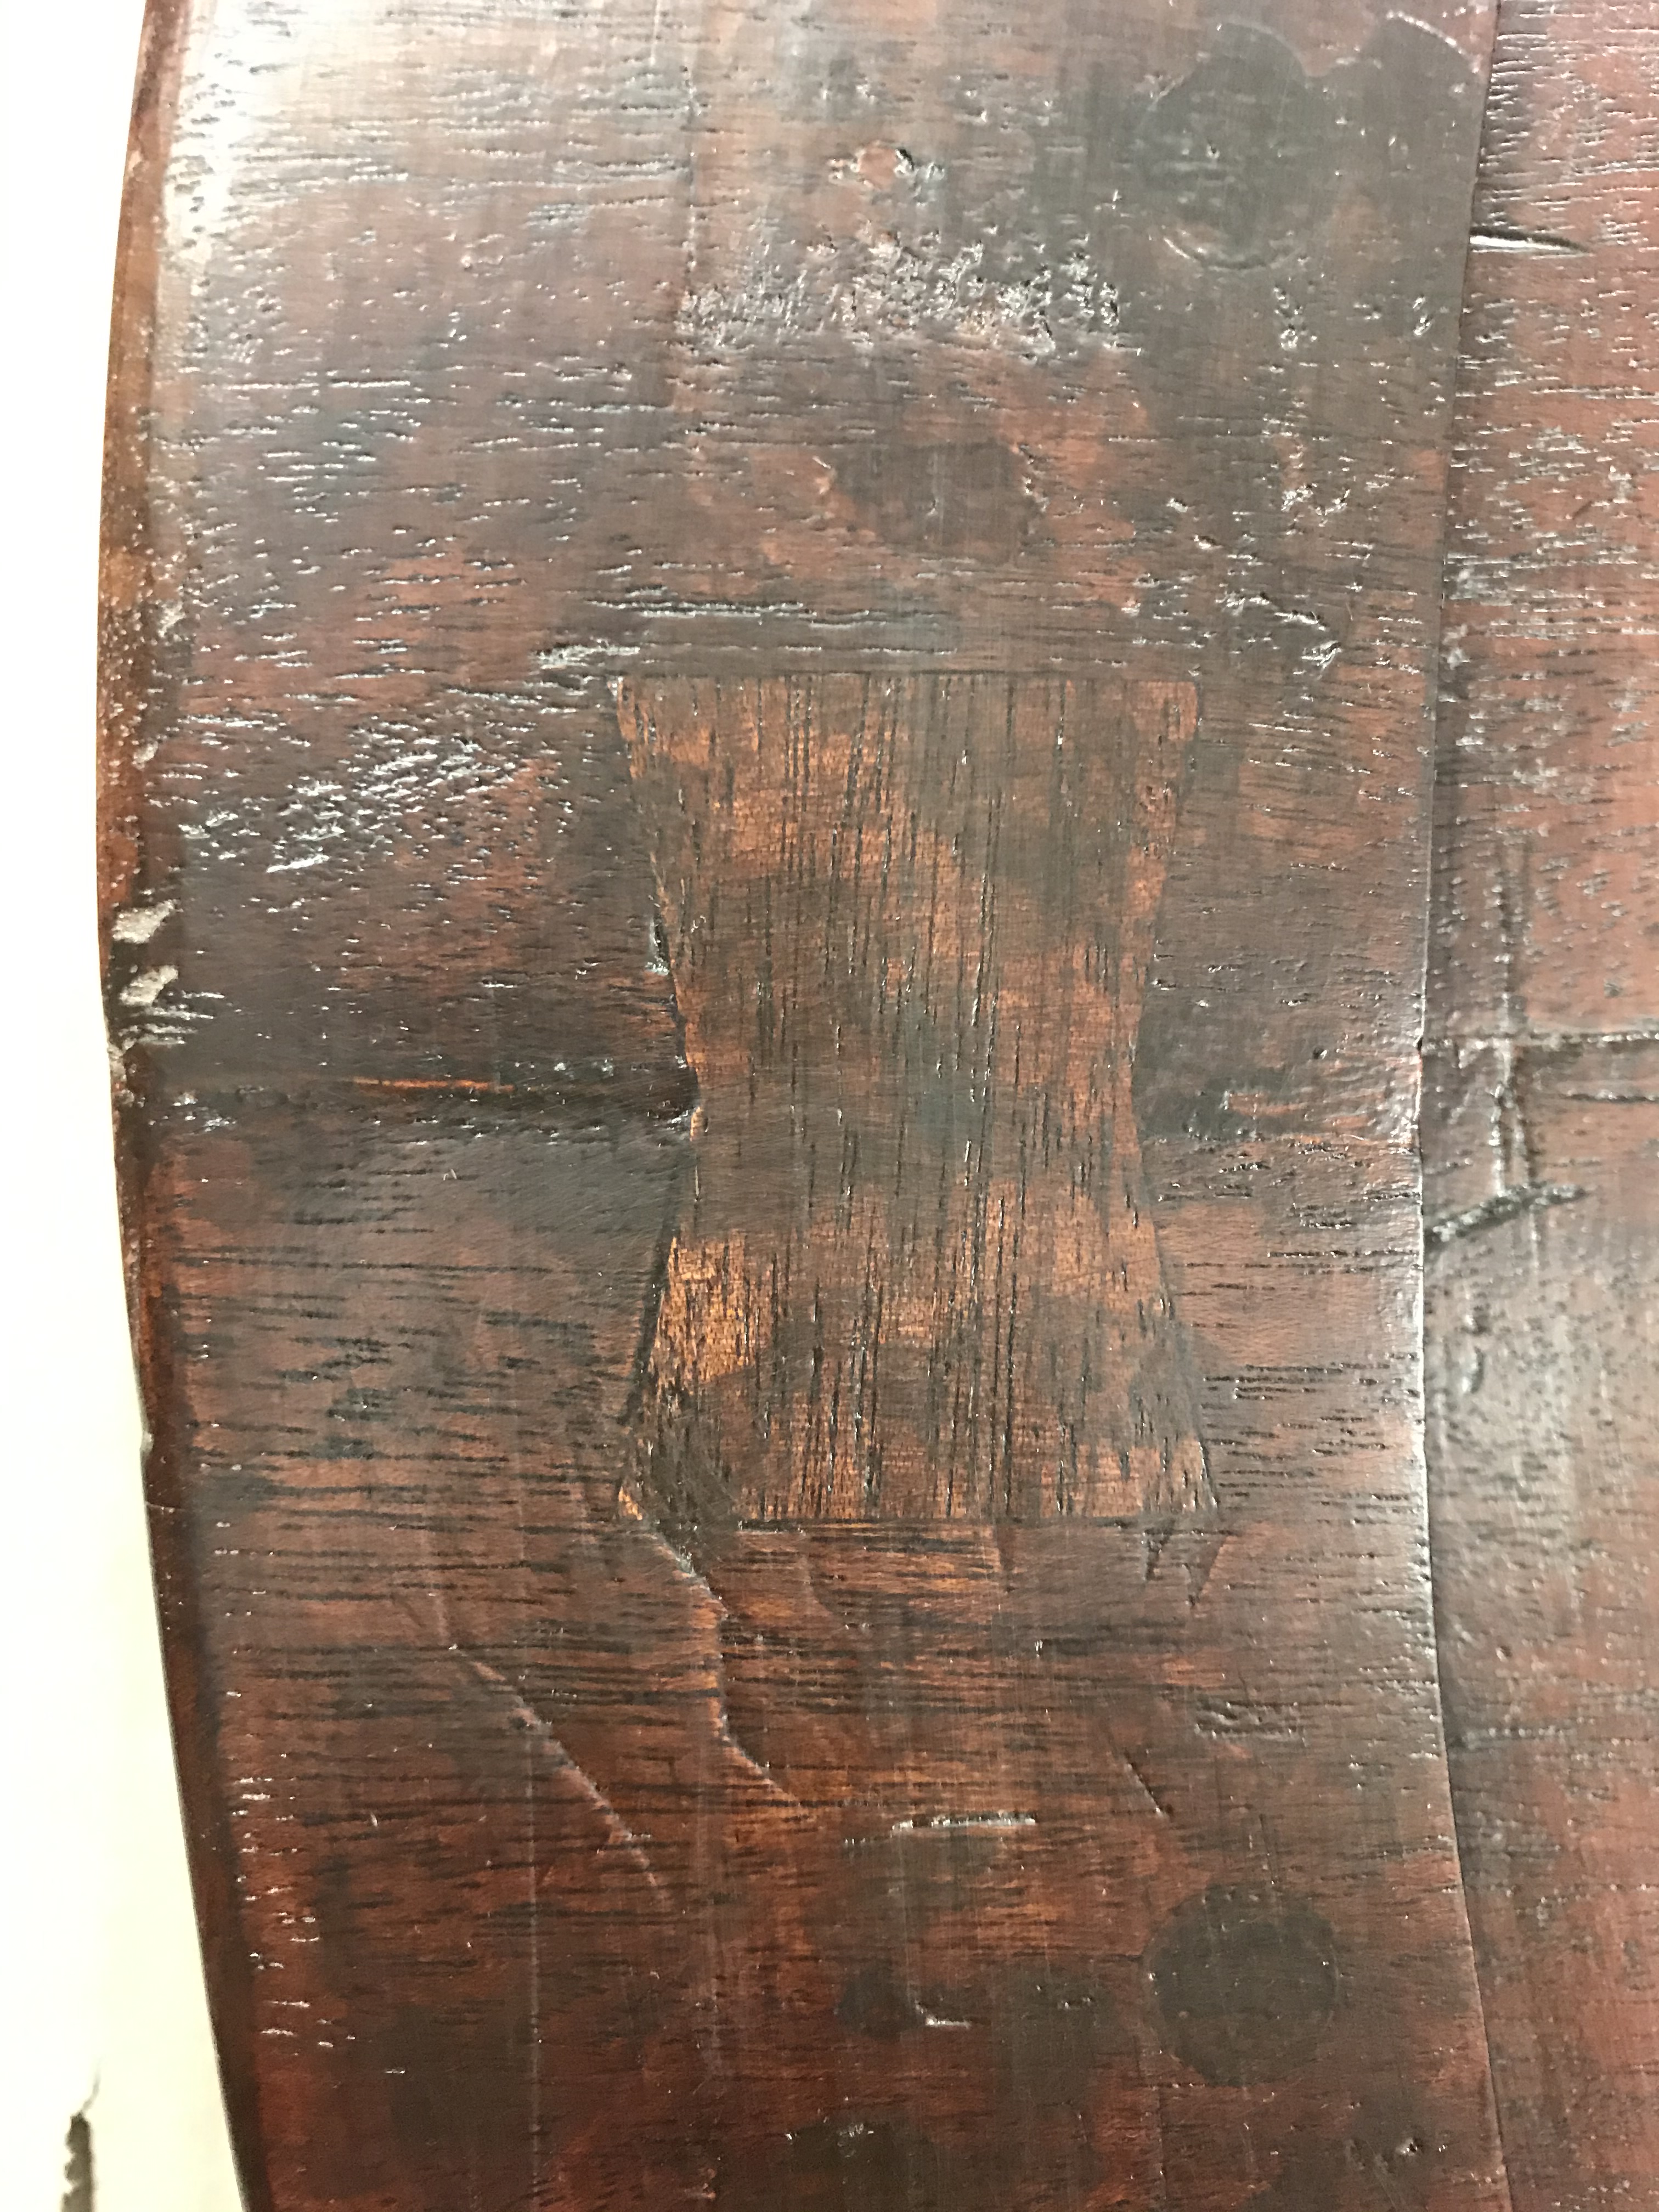
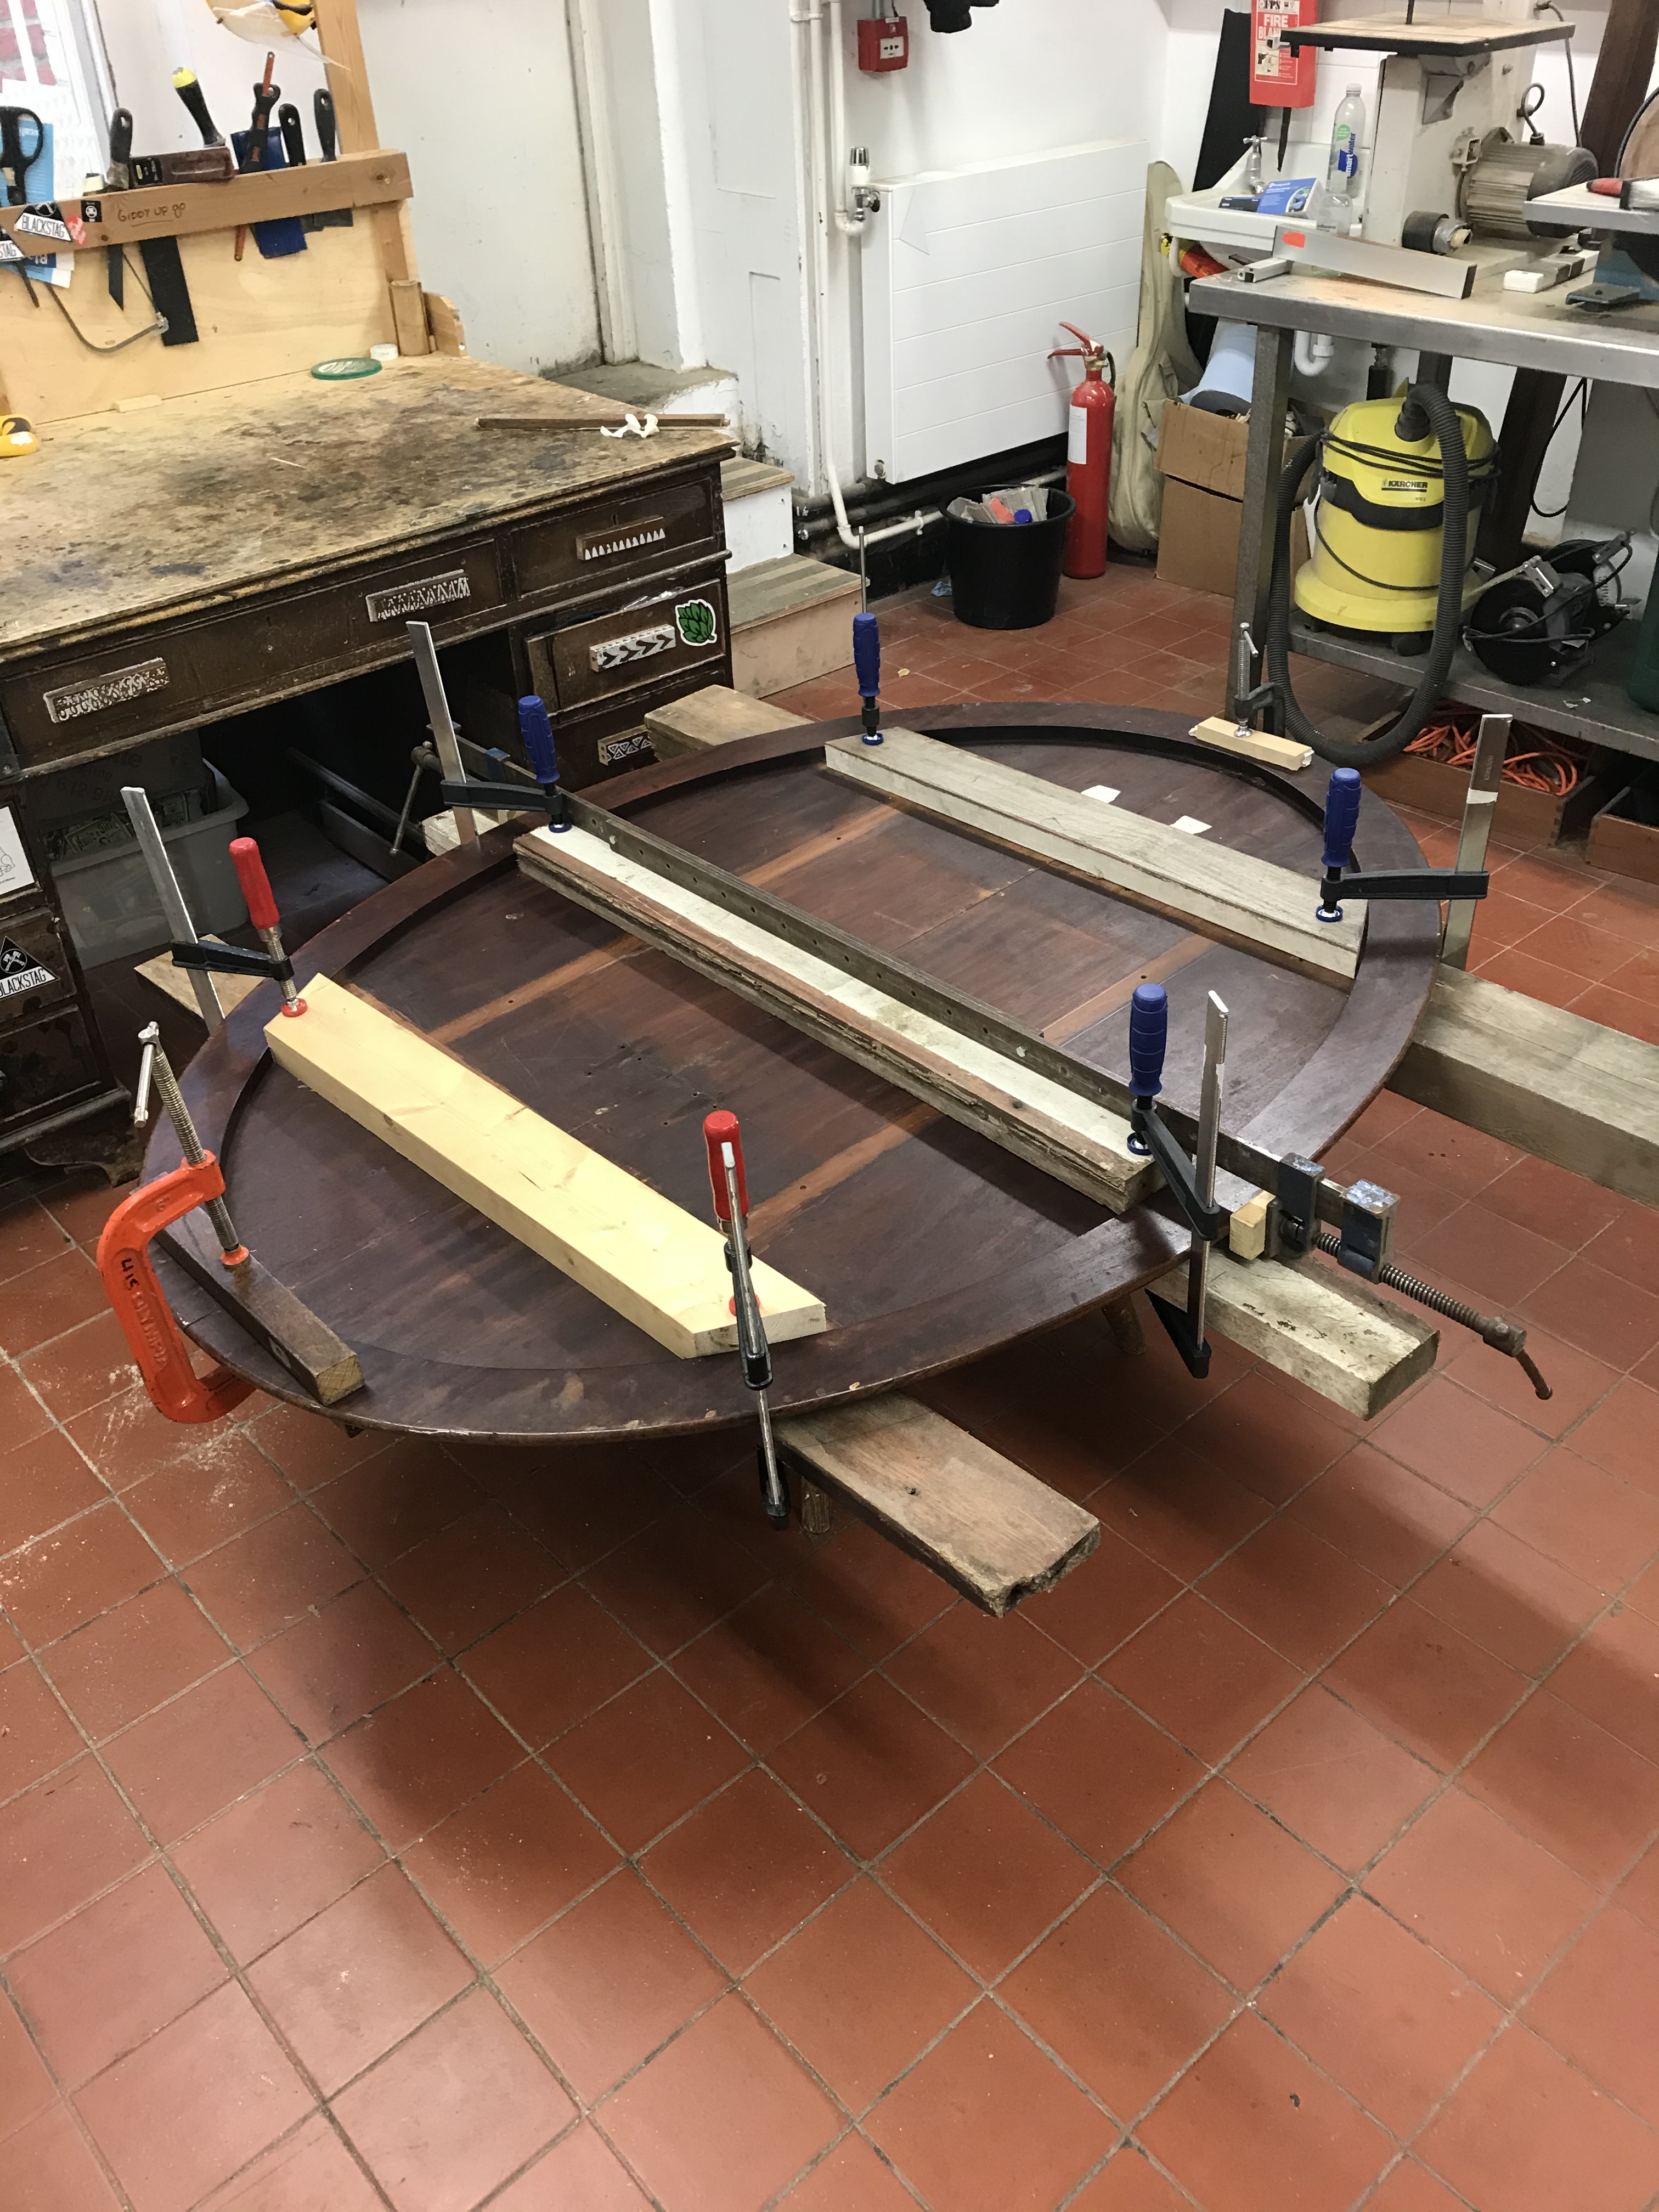
Pedestal Dining Table
{ Structural & Osmo Oil Refinish }
The top of this table had completely slit in half so had to be glued back together and reinforced with hand made ‘bow tie’ inserts and struts. After the structural work was complete, the base was revived and touched-in. The top was then filled, stained to blend with the base and refinished in Osmo (wax-oil).

Above: The finished table.
Below: Restoration steps.


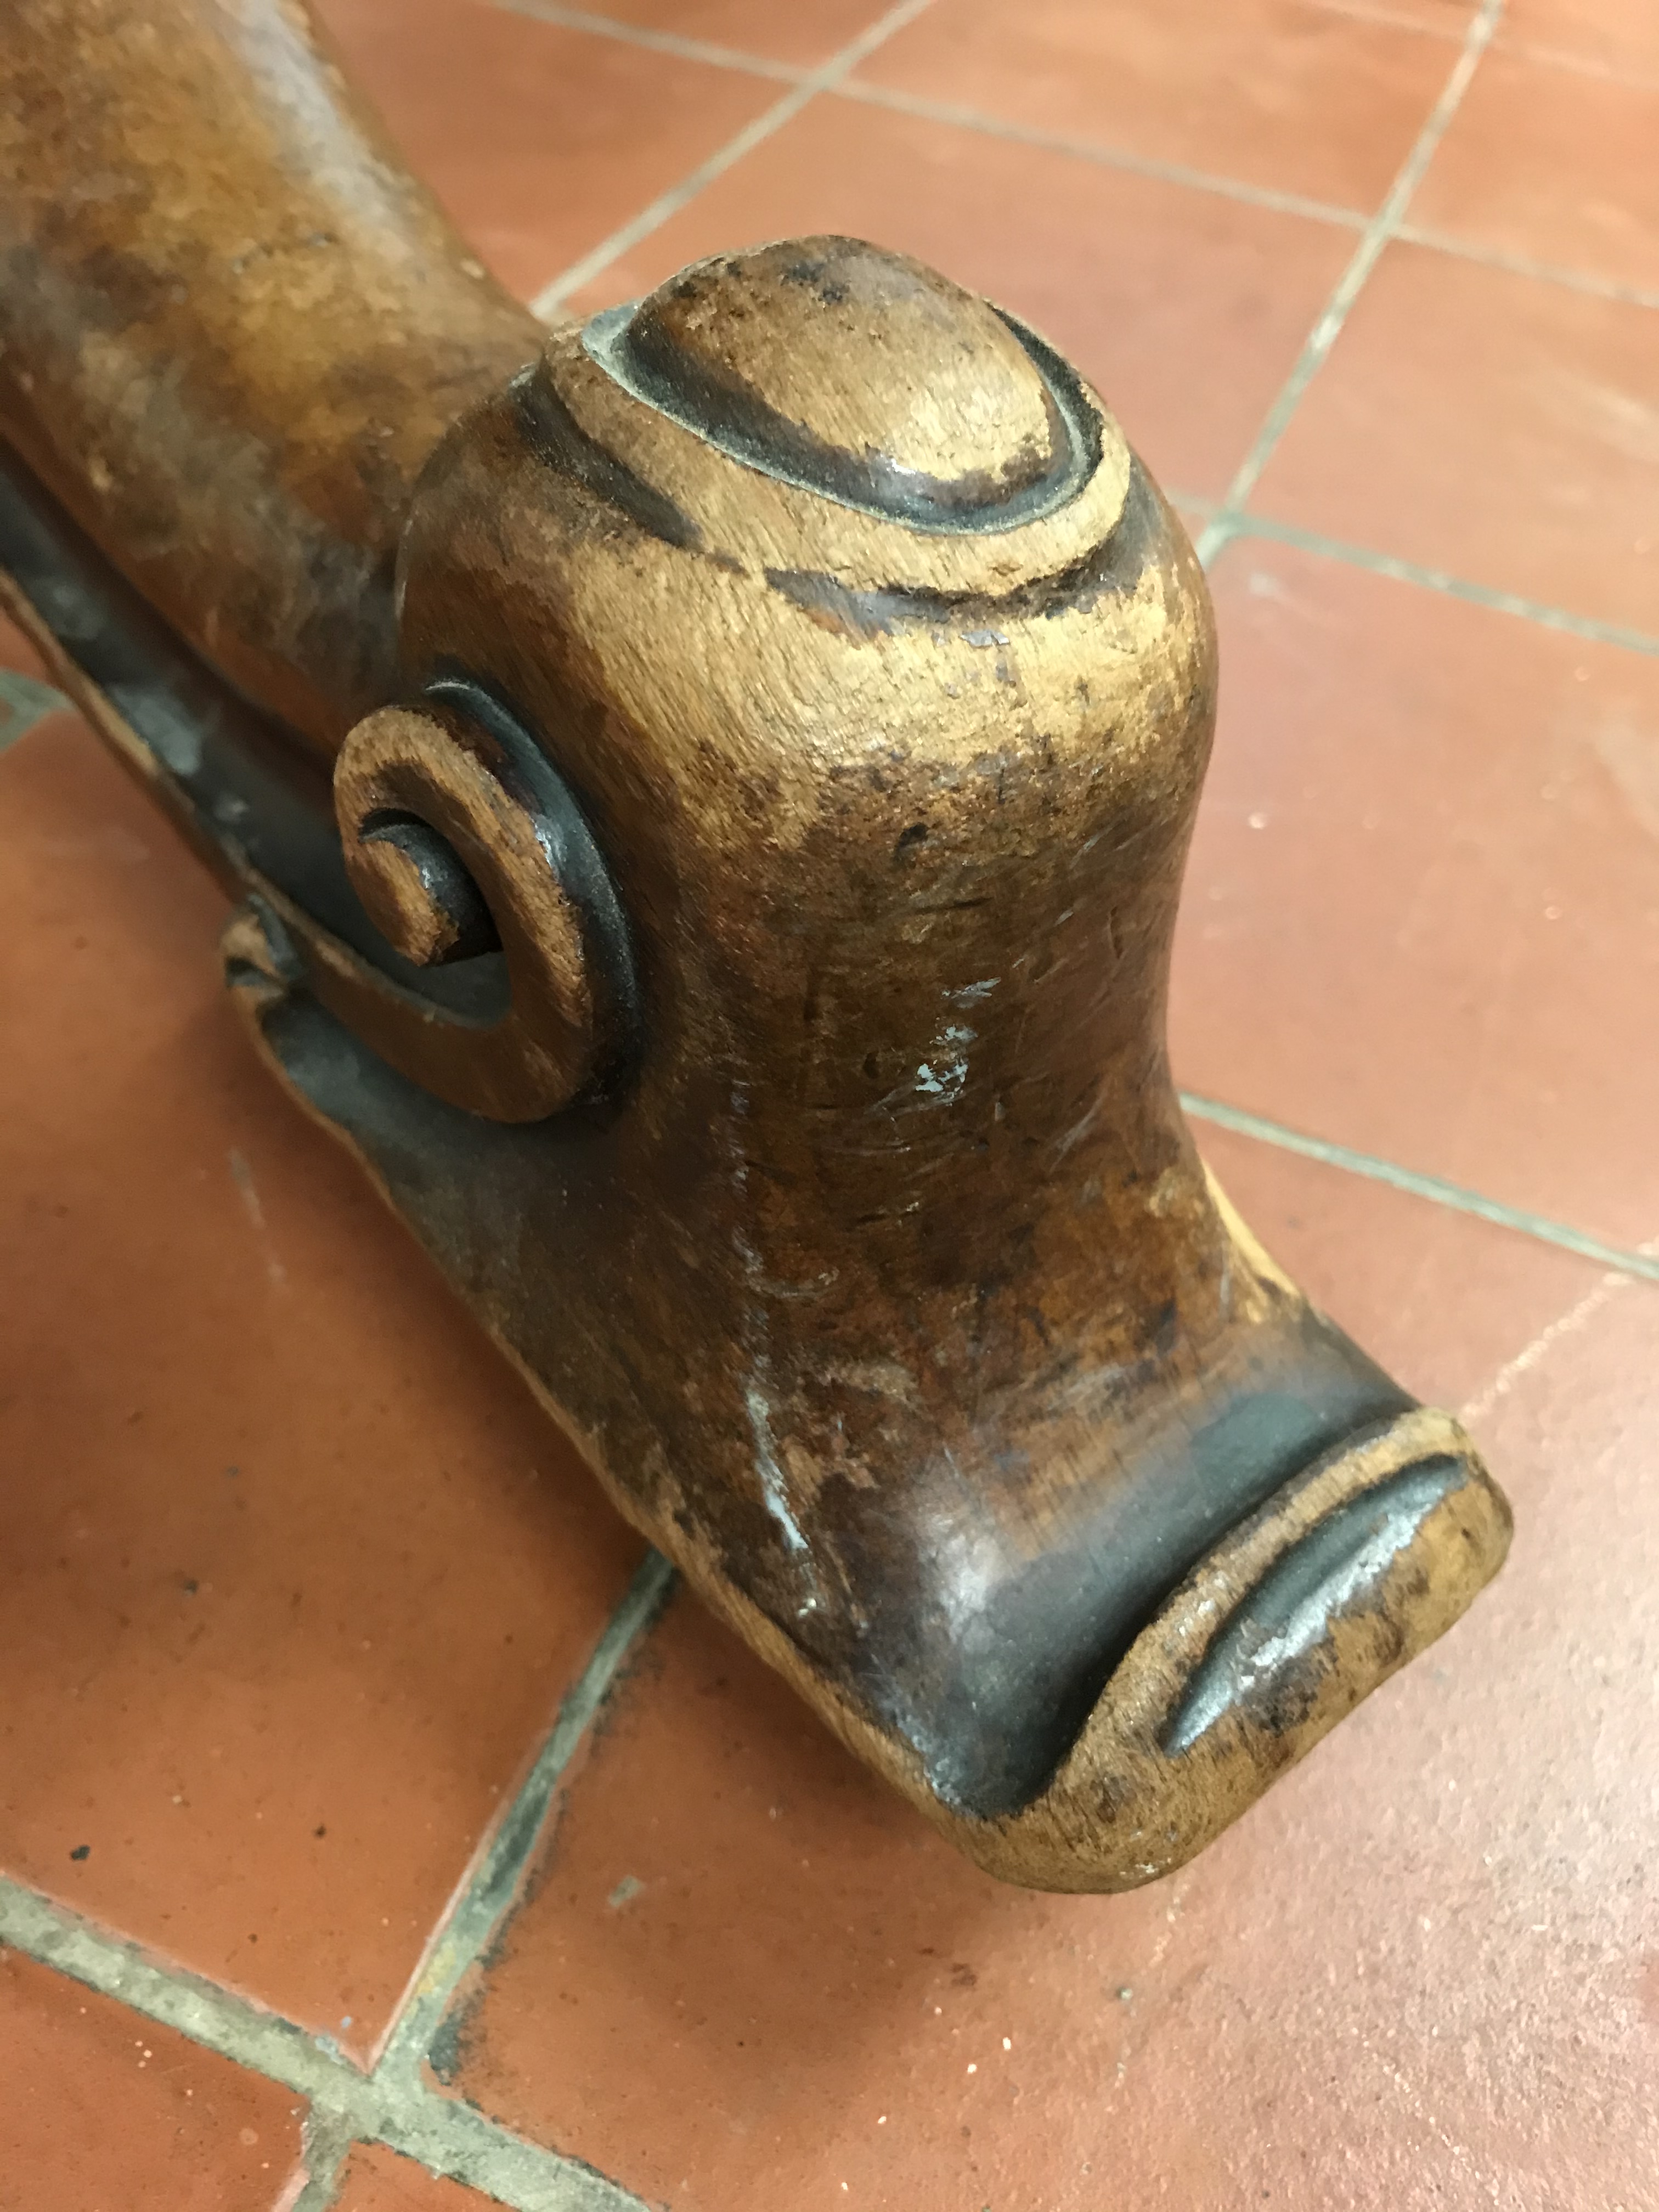
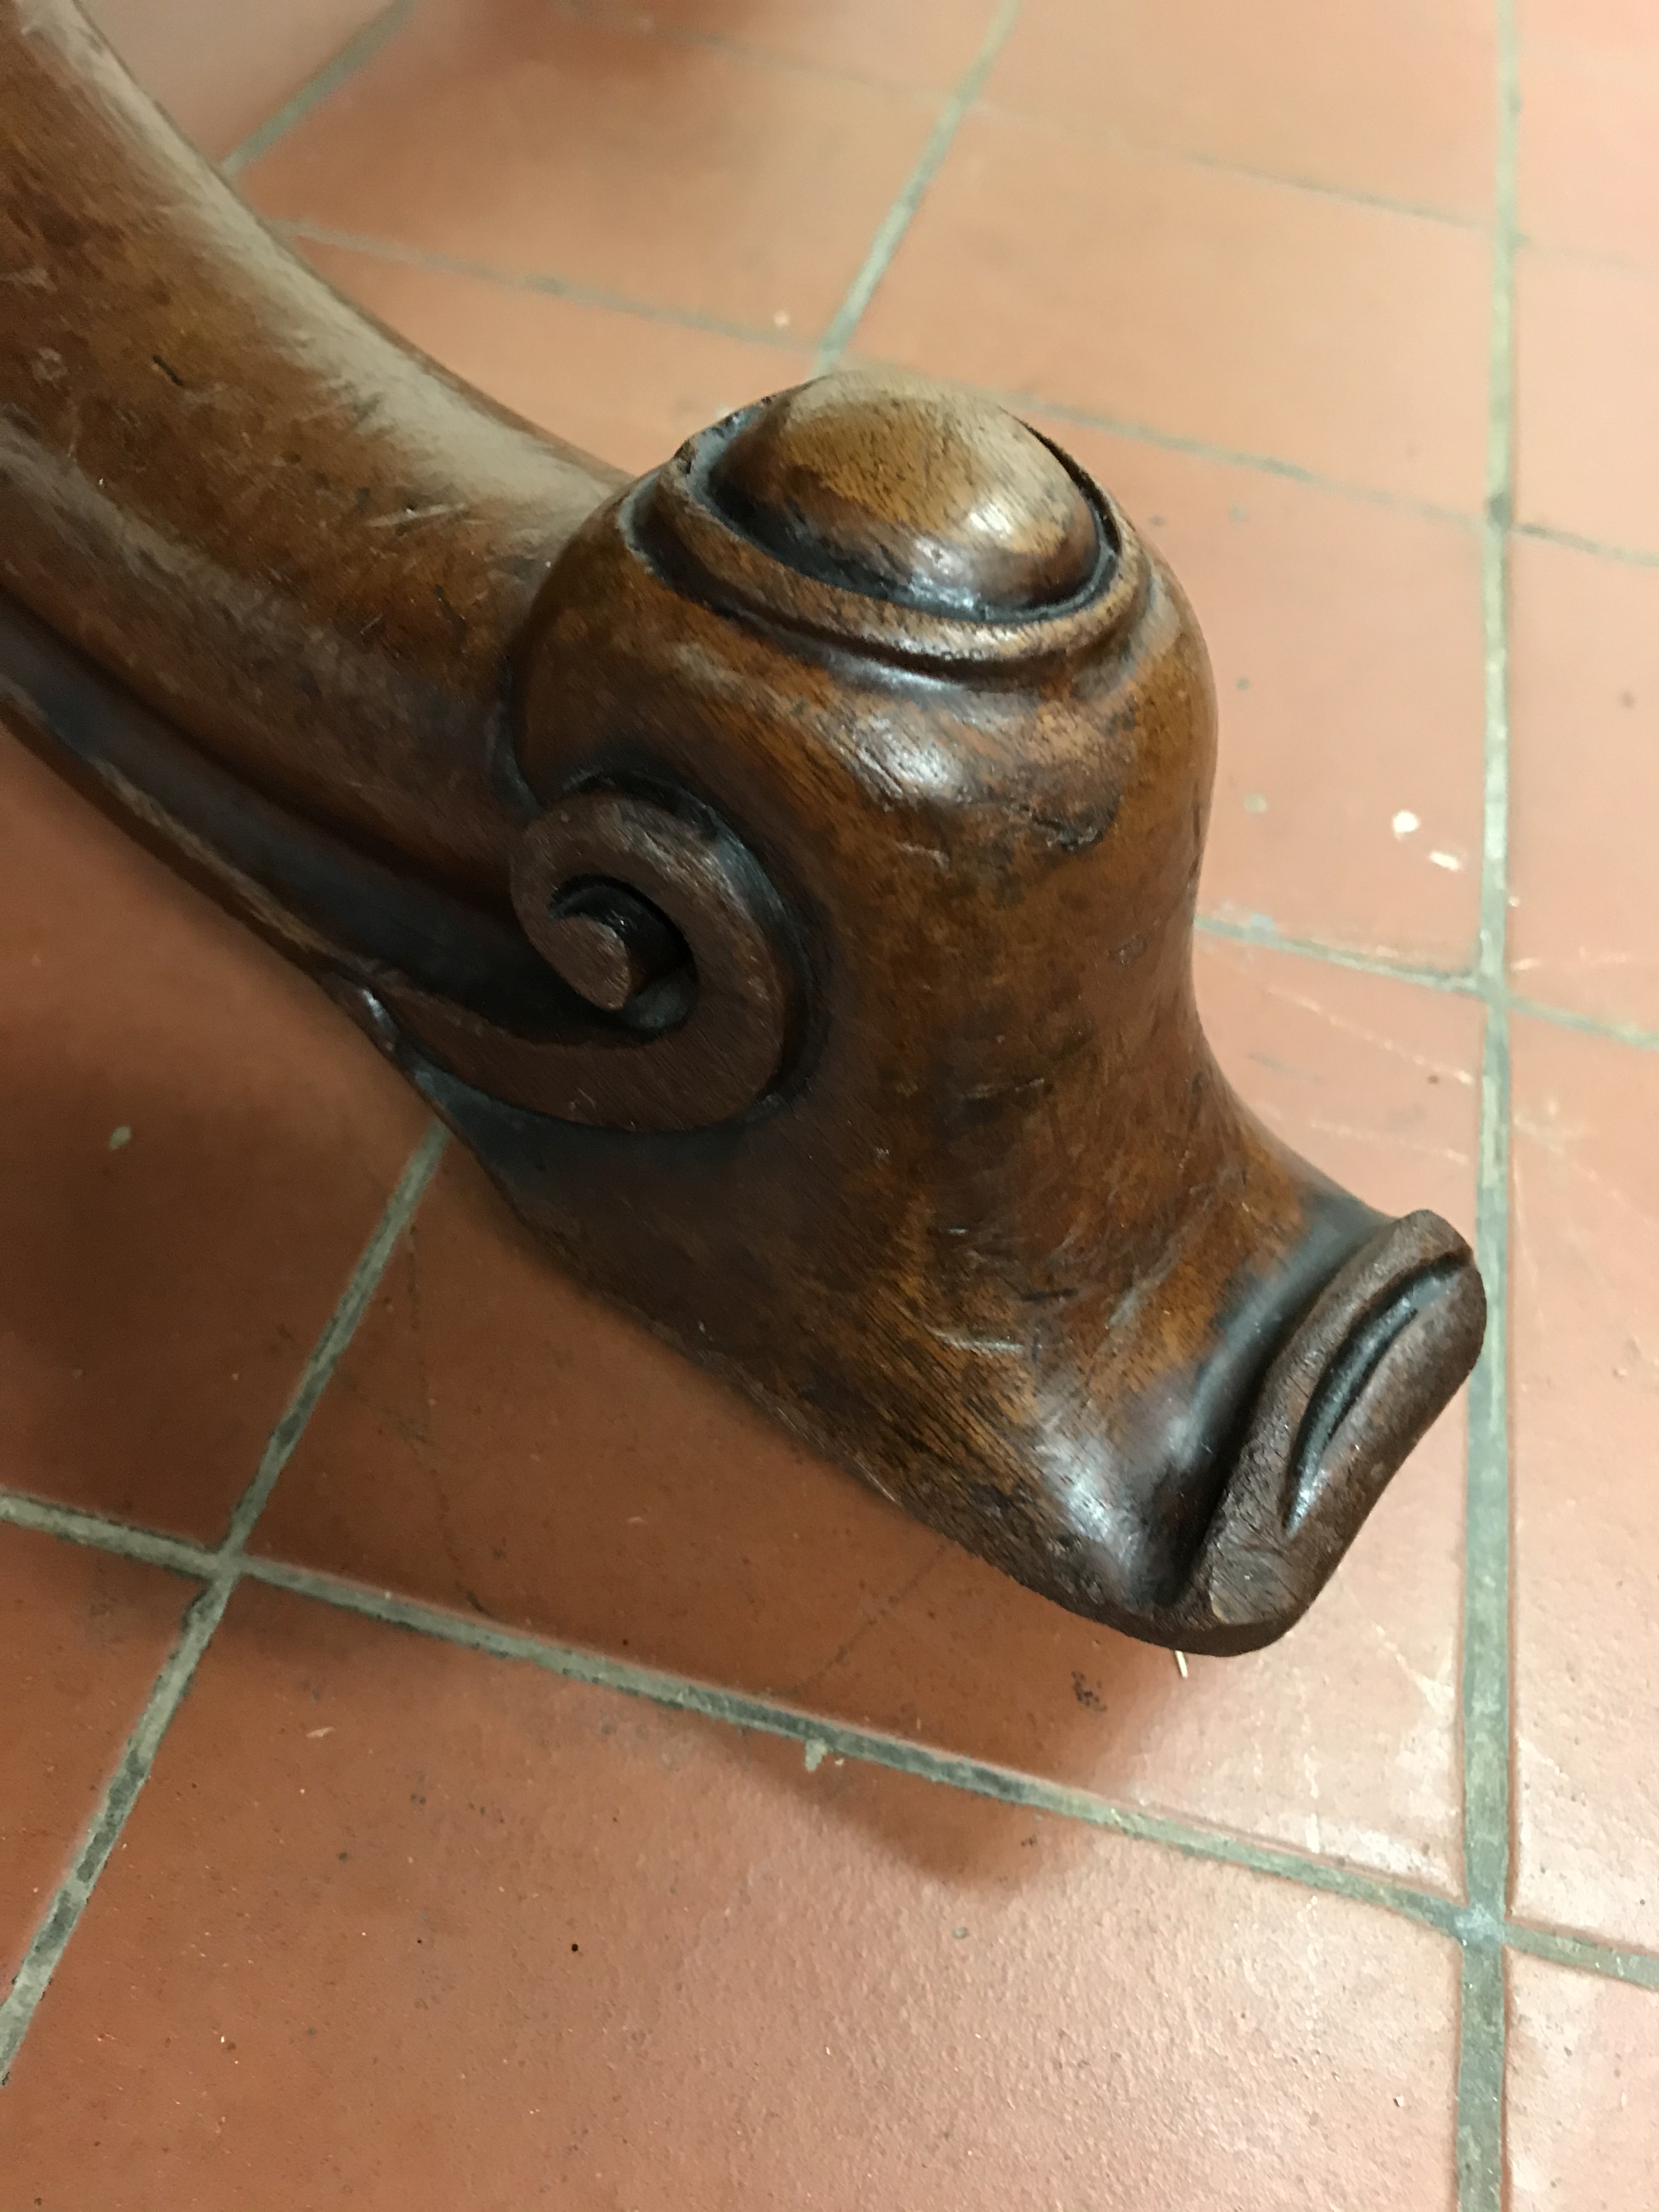
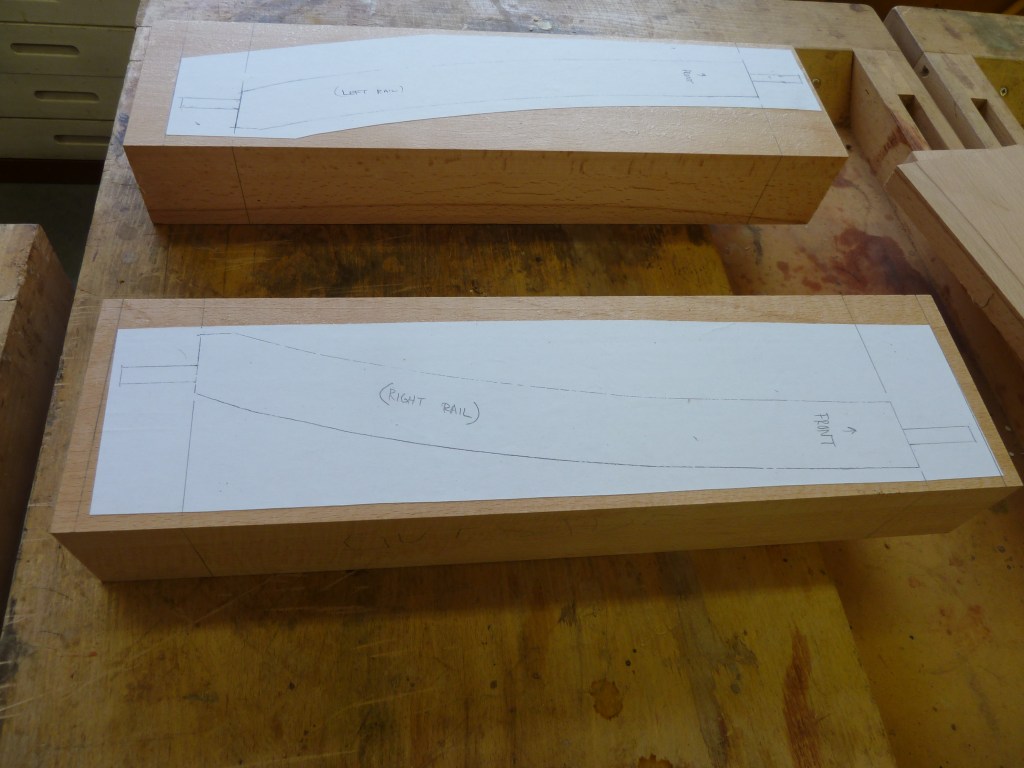
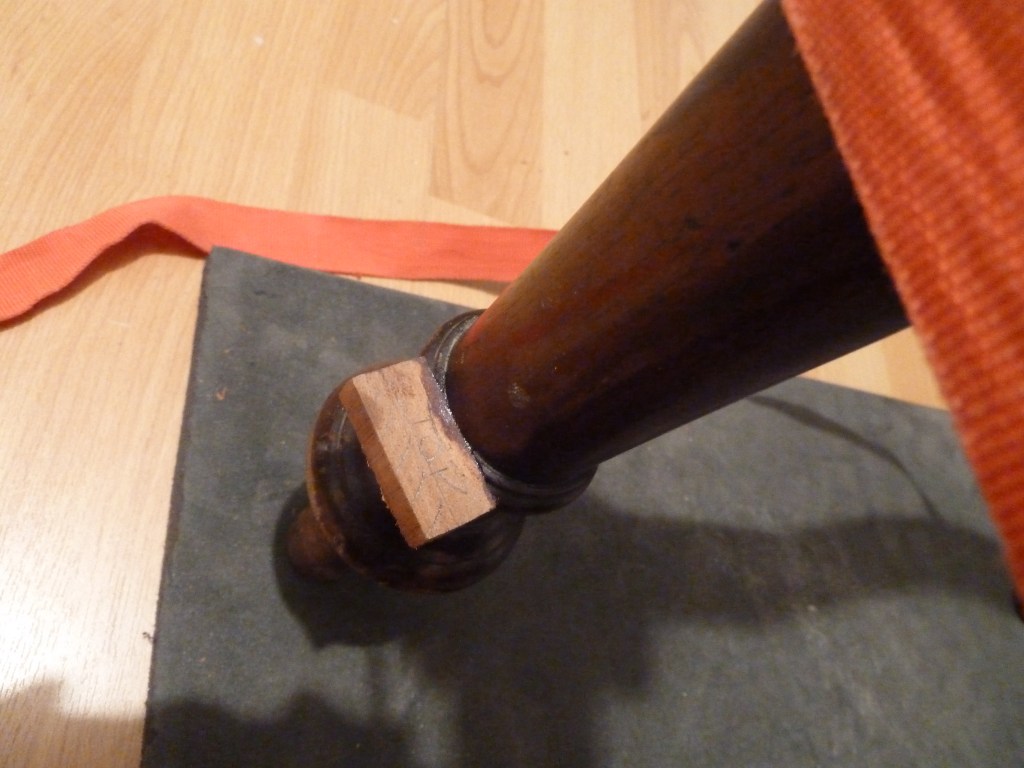
Victorian ‘Balloon Back’ Dining Chair
{ Structural & Finishing }
Restoration involved fabricating new side rails from solid Beech, new mouldings all round from solid Mahogany, repair to one of the turned legs, replacement of all four corner blocks and french polishing. After the repairs, the seat was also fully reupholstered in the traditional manner using springs, horse hair and hessian.
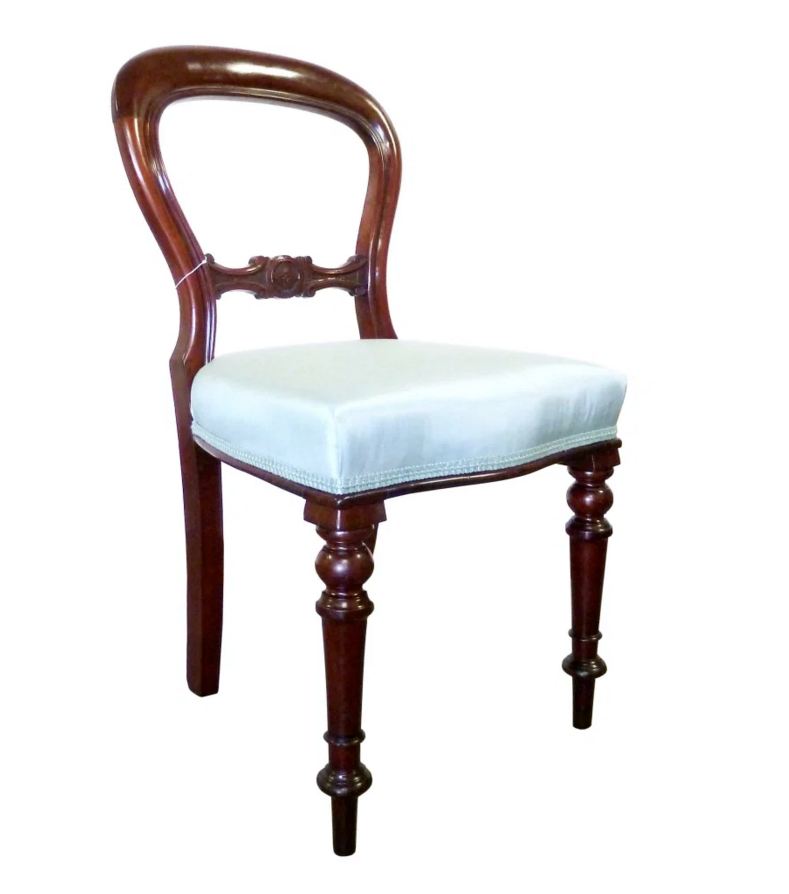
Above: The finished chair.
Below: Various stages of the process.


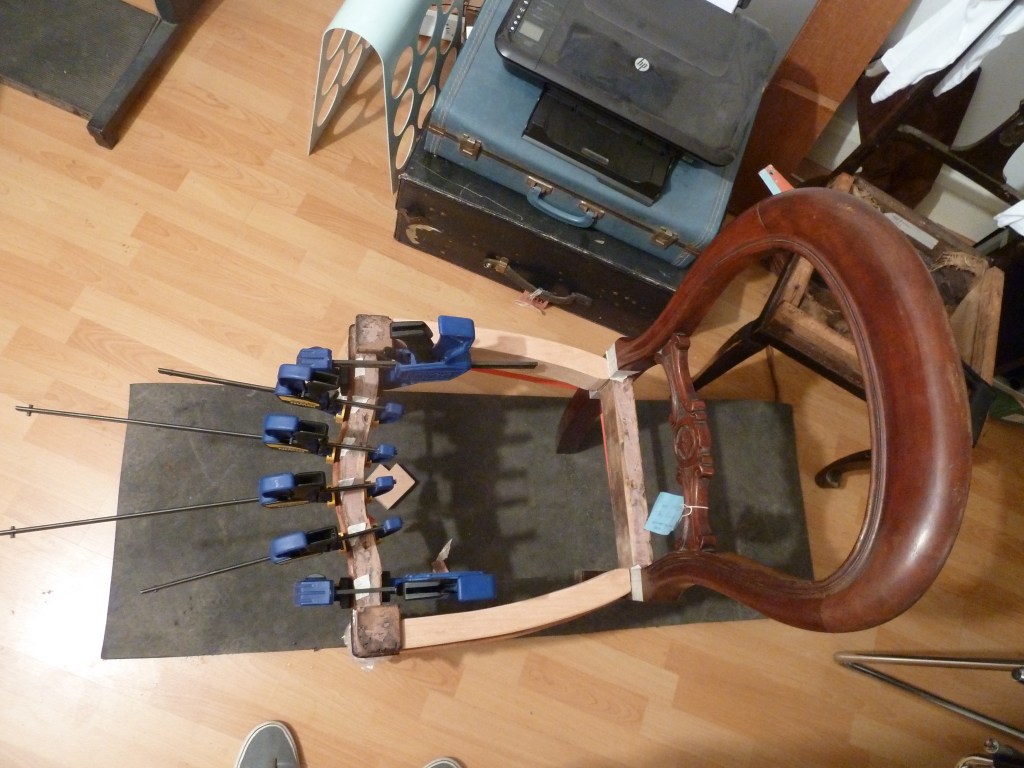


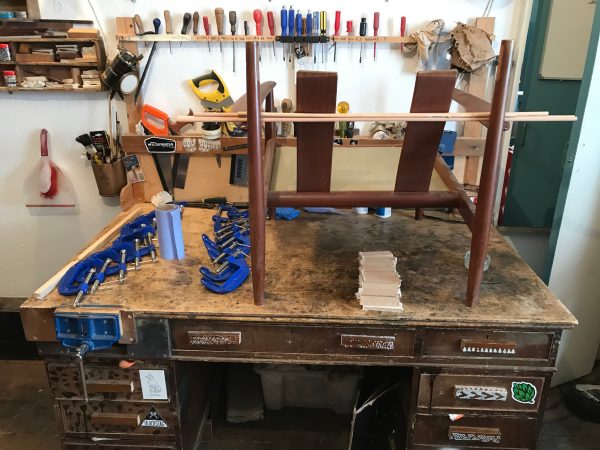
Mid Century Danish Armchair
{ Delamination Repair & Danish Oil Refinishing }
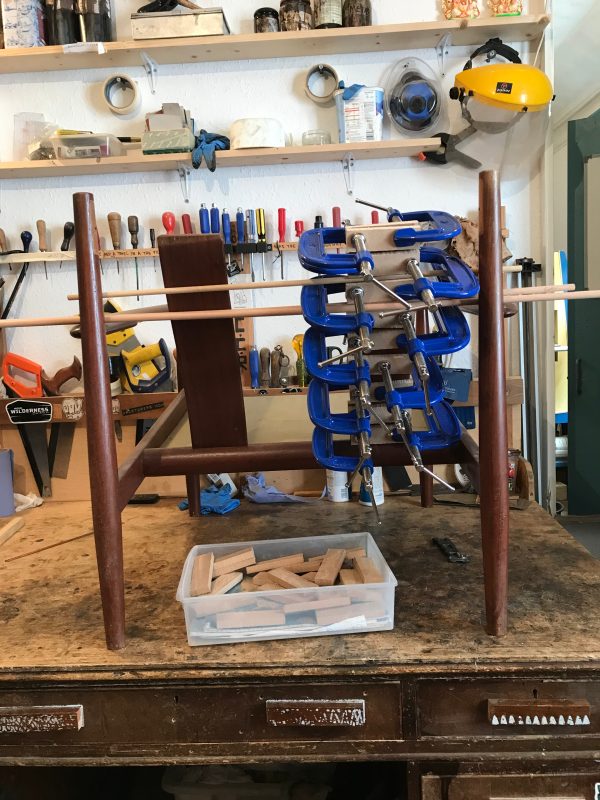
The molded ply “splats” (back rests) of this teak armchair had come apart over time as the glue degraded and failed. It was necessary to use a huge number of clamps in order to apply pressure in lots of areas at the same time to achieve the correct shape. There were also similar issues with the top rails which also needed to be cleaned then glued and clamped back together.
After the structural work was complete, the damages areas and top rails needed to be hand stripped, colour-matched and refinished in Danish Oil to blend with the rest of the frame.
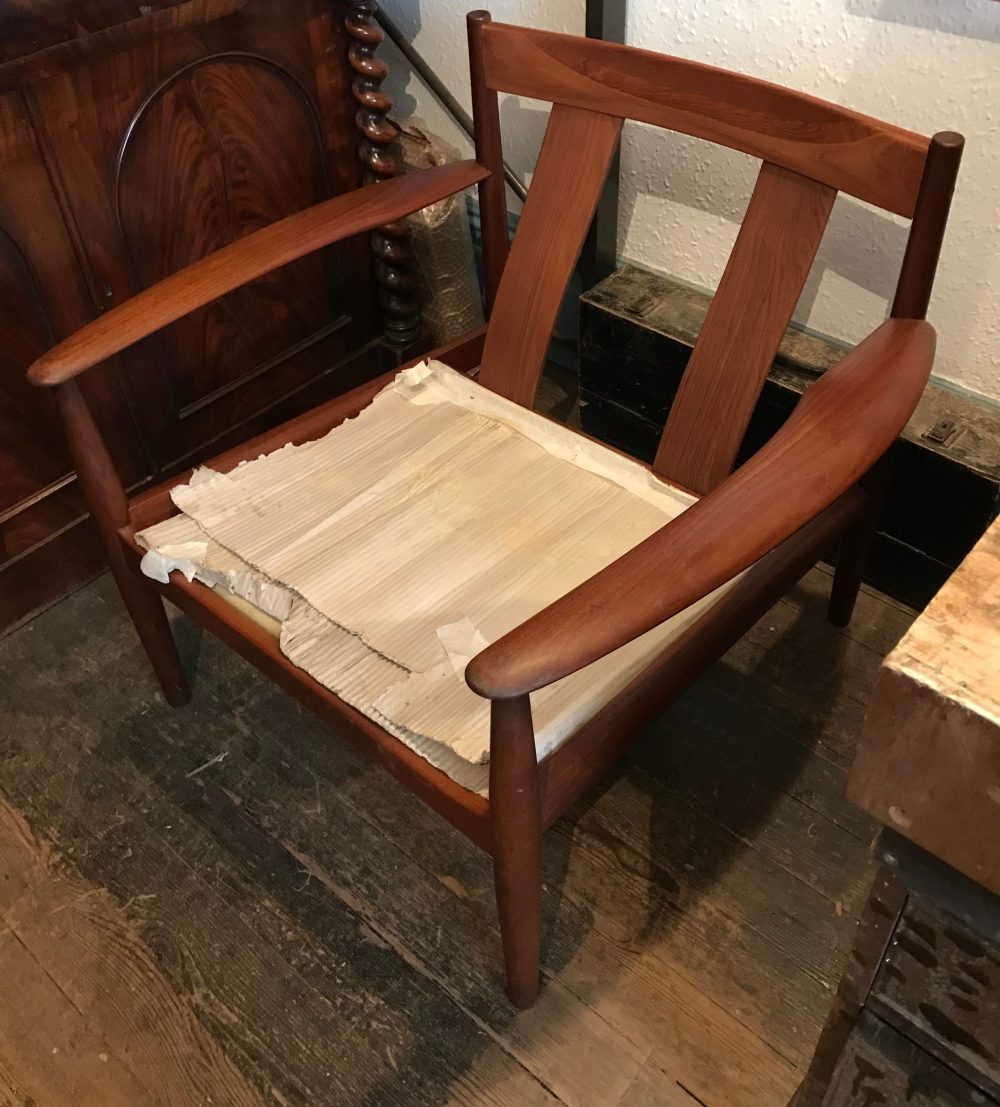
Above: The finished chair ready to go to the upholsterer.
Below: Click on the thumb-nails to see various stages of the restoration.


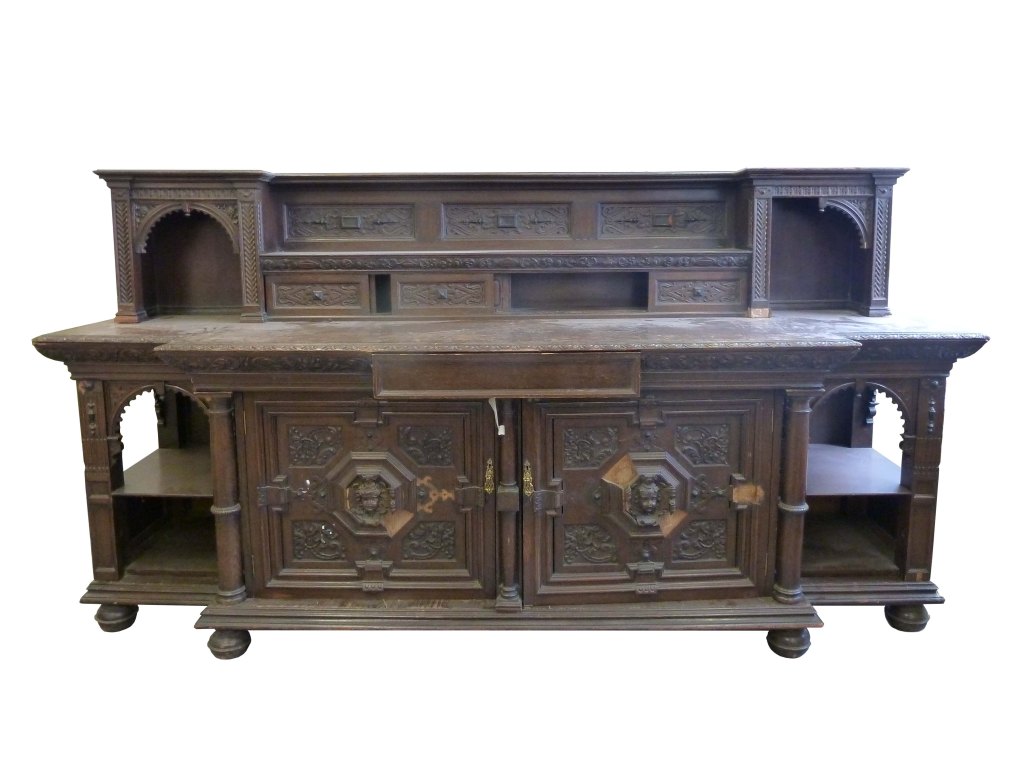
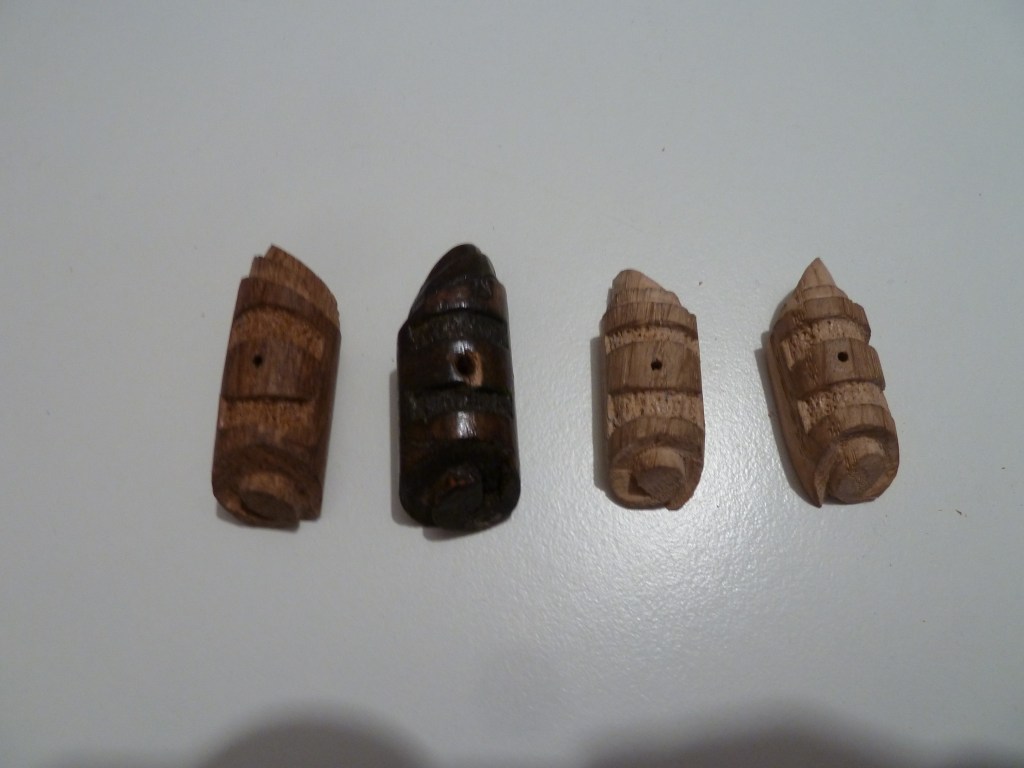
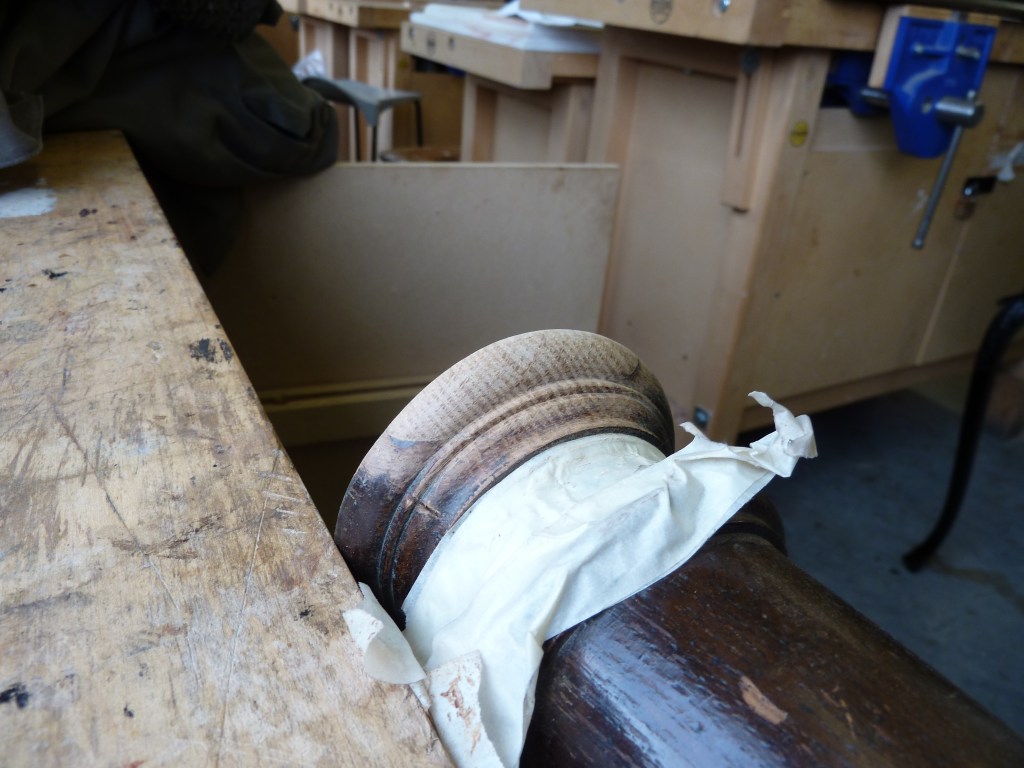
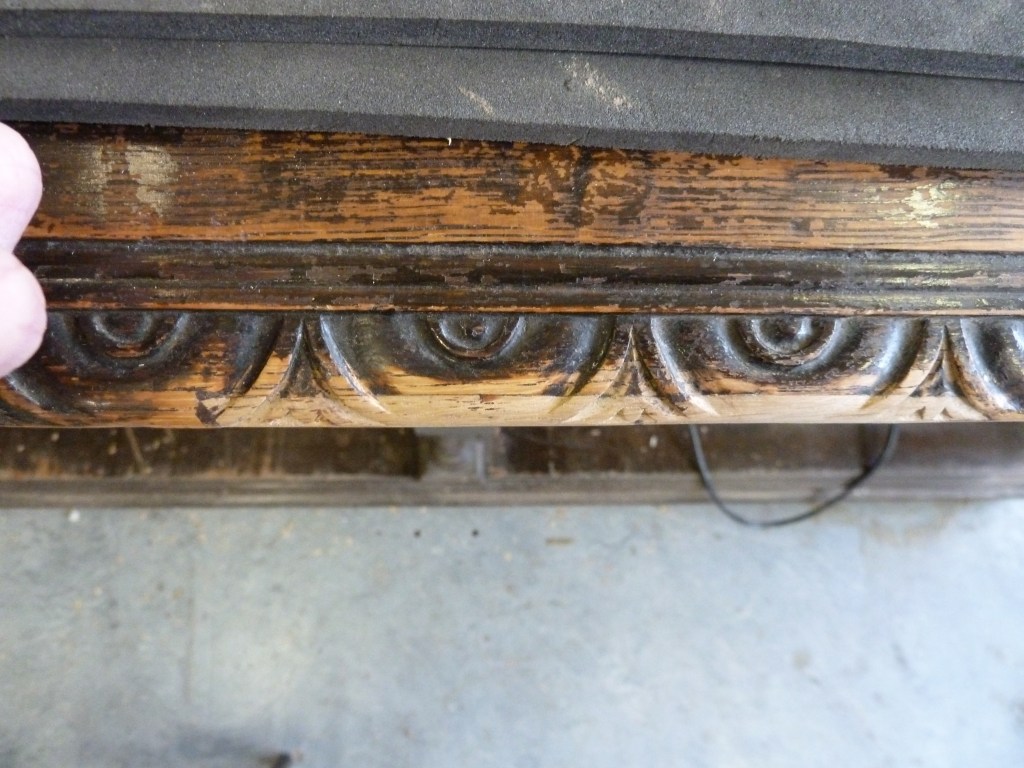
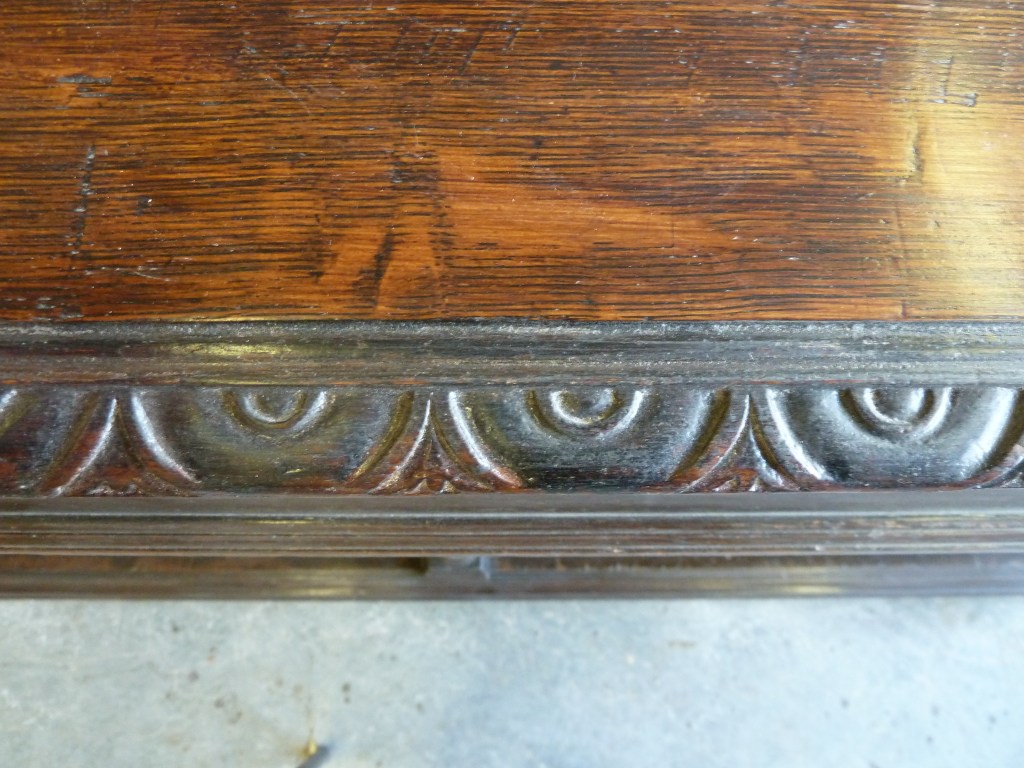
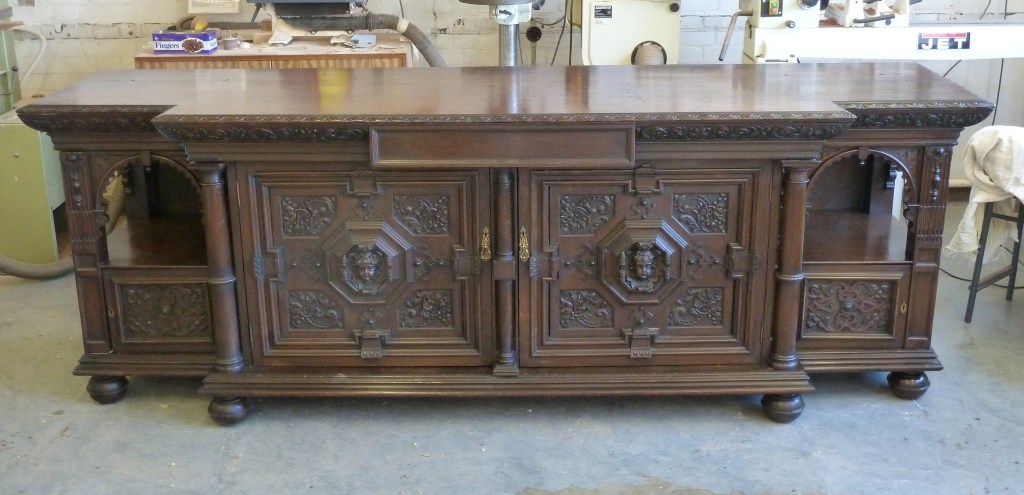
Victorian Oak Sideboard
{ Full Restoration }
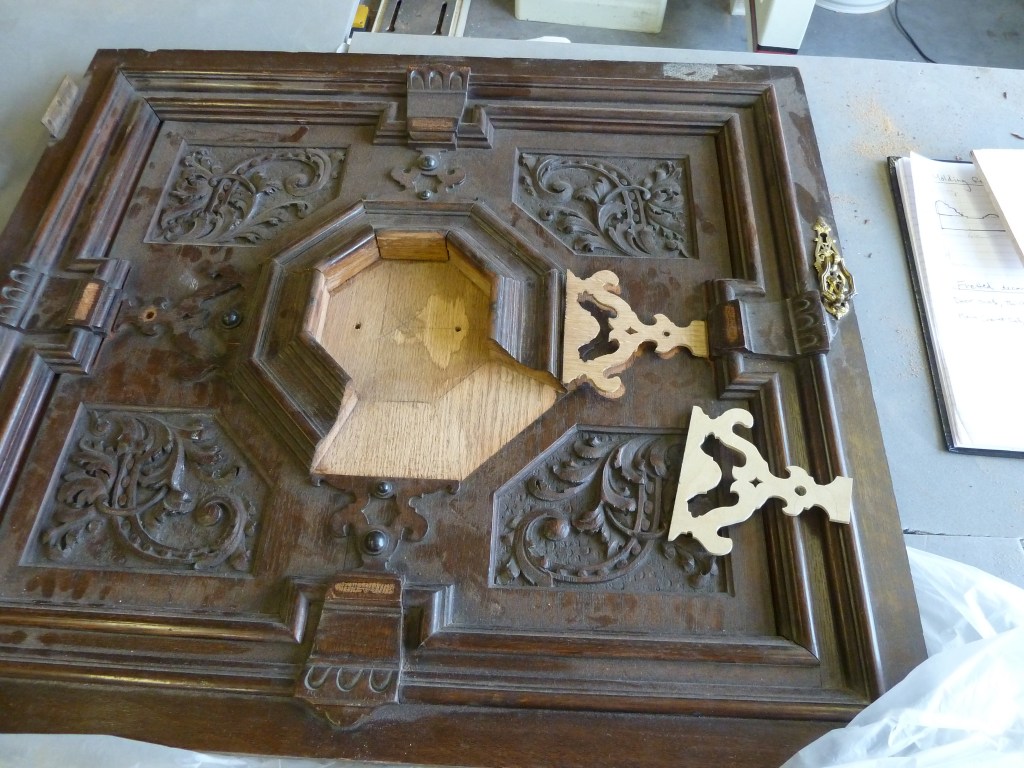
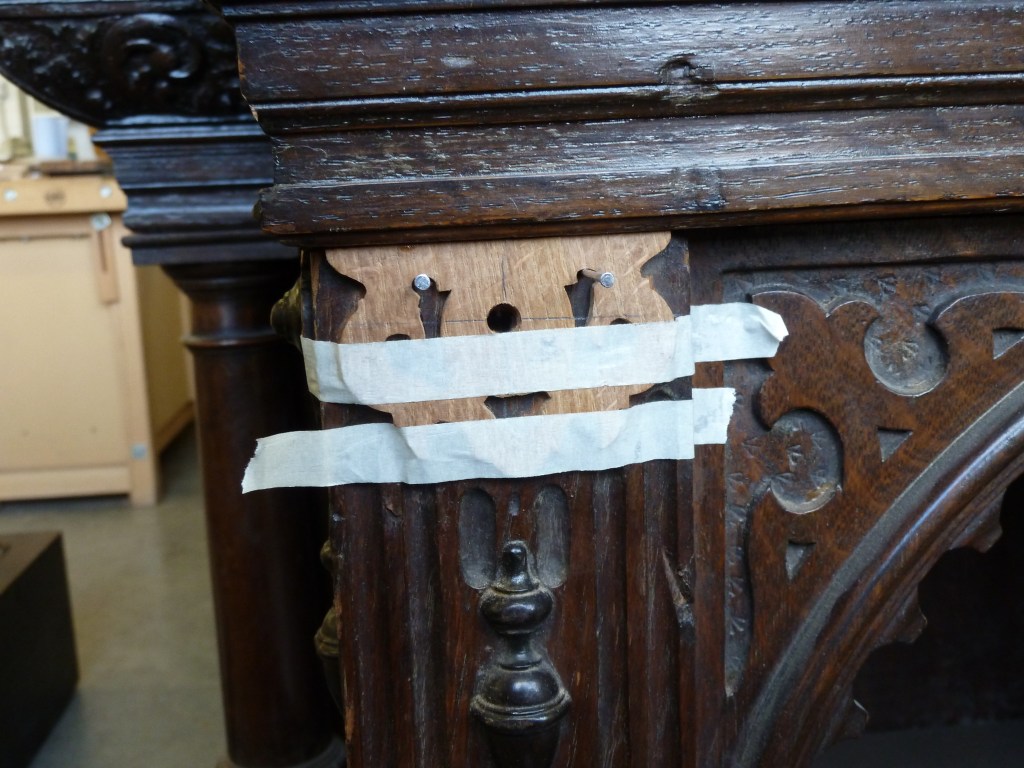
This project involved lots of repairs and finishing work. We are only covering a few of the repairs here, mainly focusing on some of the wooden embellishments which had to be fabricated or repaired.

Above: One of the doors mid way through being restored.
Below: Various stages of the restoration process.


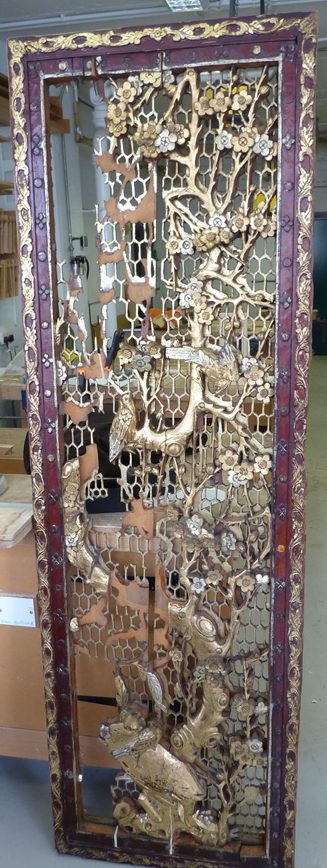
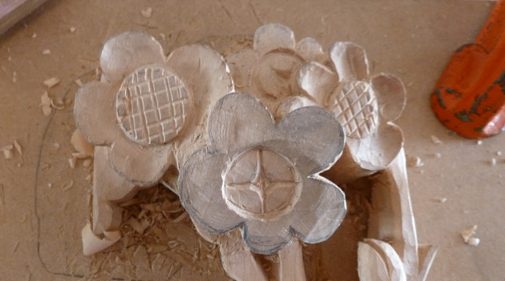
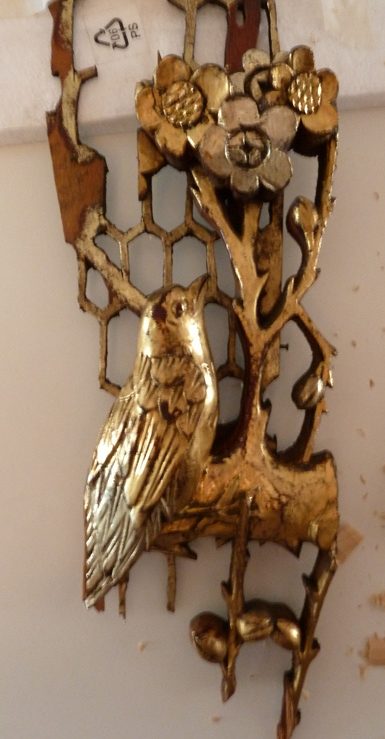
19th Century Chinese Carved Panel
{ Stabilising / Conserving / Carving practice }